Product and Software: This article applies to Aruba AP6x and AP70 with ArubaOS 3.0 and later.
In most cases a physical site survey is not needed because the VisualRF tool in the AirWave Wireless Management Suite and the RF Plan tool of the Aruba controller can be used to estimate how many Aruba access points (APs) are needed for a specified building and where to place them. However, a physical site survey may be helpful in certain environments.
To set up the Aruba AP to be used for physical site surveys without the Aruba controller, follow these steps:
Note: The Aruba controller is needed initially to set up the AP as a remote AP (RAP) and to push the necessary config so that the AP can always broadcast a WPA2-AES Personal (PSK) SSID.
Step 1: Create a user-role that allows all traffic.
This user-role will be the firewall policy that is applied to the wireless user that associates to the site survey AP.
configuration terminal
ip access-list session authenticated_acl
any any any permit
!
user-role authenticated
session-acl authenticated_acl
!
Step 2: Create an AAA profile.
This AAA profile will need an 802.1x profile for the PSK SSID and will have the above user-role applied to it.
aaa profile "SiteSurvey_aaa"
initial-role "authenticated"
authentication-dot1x default-psk
!
Step 3: Create a SSID profile.
This profile creates a SSID that uses WPA2-AES PSK encryption.
wlan ssid-profile "SiteSurvey_ssid"
essid "SiteSurvey"
wpa-passphrase mysecret
opmode wpa2-psk-aes
!
Step 4: Create a virtual AP profile.
This profile keeps the SSID always up even if the AP has no connectivity to the controller.
wlan virtual-ap "SiteSurvey_vap"
aaa-profile "SiteSurvey_aaa"
ssid-profile "SiteSurvey_ssid"
vlan 8
forward-mode bridge
rap-operation always
!
Step 5: Create the ARM and RF profile.
This step disables ARM so that channel and tx-power modifications can be done on the CLI on the AP during site survey testing.
rf arm-profile "disabled_arm"
assignment disable
no scanning
!
rf dot11a-radio-profile "arm_disabled_maxpower_radio"
tx-power 30
arm-profile "disabled_arm"
!
rf dot11g-radio-profile "arm_disabled_maxpower_radio"
tx-power 30
arm-profile "disabled_arm"
!
Step 6: Create the system profile.
The main configuration item here is the "rap-dhcp-server-vlan". This needs to match the VLAN ID that is configured in the virtual AP profile above. This VLAN ID is used for the wireless clients that associate to the SSID with the correct WPA2-AES PSK.
ap system-profile "SiteSurvey_system"
lms-ip 1.1.1.1
rap-dhcp-server-vlan 8
rap-dhcp-dns-server 4.2.2.1
!
Step 7: Create the wired AP profile.
This step ensures that the wireless clients can talk to a wired laptop or desktop on the site survey AP.
ap wired-ap-profile "bridge_wiredap"
wired-ap-enable
forward-mode bridge
trusted
!
Step 8: Create the site survey AP Group.
This AP group will use all the above profiles and will be applied to RAPs during their configuration in the GUI of the Aruba controller.
ap-group "SiteSurvey_RAPs"
virtual-ap "SiteSurvey_vap"
dot11a-radio-profile "arm_disabled_maxpower_radio"
dot11g-radio-profile "arm_disabled_maxpower_radio"
wired-ap-profile "bridge_wiredap"
ap-system-profile "SiteSurvey_system"
!
end
write memory
Step 9: Make a campus AP to a RAP.
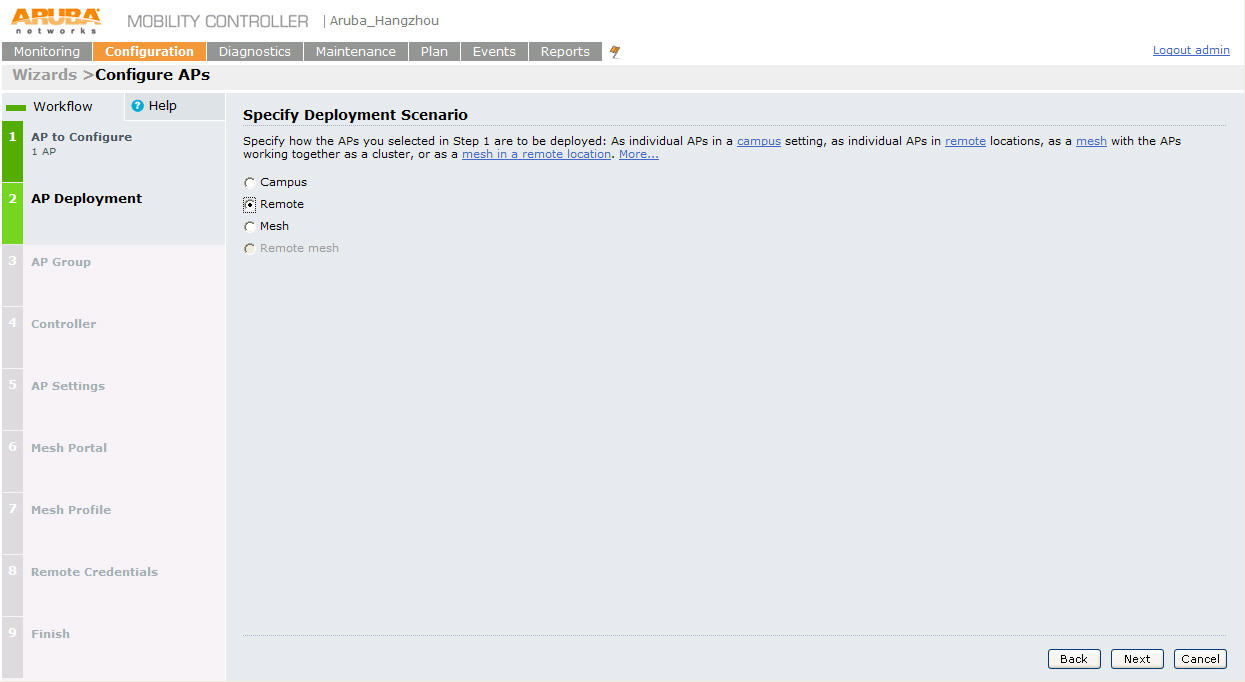
Add the necessary RAP license and configure an AP to be a RAP, which is bound to the above "SiteSurvey_RAPs" AP group. This step does not go into details of how to make an AP to a RAP. For detailed steps, see the ArubaOS User Guide. If the controller is running ArubaOS 3.4.1.0, use the AP Wizard to quickly convert a campus AP into a RAP.
Note: Ensure that you statically assign an IP Address, Netmask, Default Gateway, Server IP, and Master for the AP, because it could keep rebooting if it cannot get an IP through DHCP.

Changing Transmit Power and Channel on the site survey AP after it is configured and disconnected from the controller.
Note: This step requires a console to the AP and full access to the CLI with the <ctrl>+<esc>+k key sequence.
Changing the TX power of the 802.11a radio
echo 0 > /proc/sys/dev/wifi0/tx_power; echo 1 > commit
Changing the AP's channel on the 802.11a radio
echo 36 > /proc/sys/dev/wifi1/channel; echo 1 > commit
Note: TX power is in 0.5 dBm increments, so to change the tx-power to 14 dBm on the 802.11a radio, issue the following command:
echo 28 > /proc/sys/dev/wifi0/tx_power
echo 1 > commit
Echo 28 is the 14dbm configuration part because 28 * .5 = 14dBm
Changing the TX power on the 802.11bg radio
cd /proc/sys/dev/wifi1/; echo 1 > tx_power; echo 1 > commit;
Changing the AP's channel on the 802.11bg radio
cd /proc/sys/dev/wifi1/; echo 6 > channel; echo 1 > commit;