Note: In this post we are guide you to a process to upload your own custom maps, but we highly recommend you work close with meridian specialized team for PoC in order to guaranteed and appropriate and professional map at maps@meridianapps.com
During our internal demos or small demos to customers we need to upload our custom maps for a specific location into Meridian Accounts in order to catch the customer attention or engage it with our solutions. For that reason in this post we will to share a way to upload functional, custom maps into the Meridian Editor.
To view the full tutorial, please refer to the attached file.
Step 1 - What will we need?
We will need the following:
- The floor map
- An PC with an image editor
Step 2 - Understanding map format basics
Meridian Maps are created in SVG format and contain all the elements in group named Layers.
The editor will validate if the format is either valid or invalid according with the layers you are using, for that, if you not use the correct layers you won't see what you want into the editor
Step 3 - Installing Inkscape and GUI
Firstly, you should consider that Meridian supports SVG (Scalable Vector Graphics) format to upload maps, for that reason, you need an image editor that supports that format to create your own maps.
There are many software providers that offers their solutions as paid as free that support this format (the Meridian team recommends Illustrator® that is a paid suite from Adobe). In this post we will use Inkscape because it is a free tool, and has all the features and functionalities we need.
To download Inkscape you have to go to Inkscape's official site https://inkscape.org/en/release/0.92.3/, select Download option and choose the operative system of your computer, after download the software run the installation wizard and follow the instruction in the window.

Once you have installed the program, go to the application desktop on your Desktop and open Inkscape

When you open Inkscape a new document is created,
Unless you can configure the Inkscape GUI the basic configuration is organized in the above way
At the Top of the file you can find a menu with features

At the middle you can find icons set with tools to create your own map and the work space
Left | Center | Right |
 |  | |
And at bottom there is a pane to change the color objects

You can know more about Inkscape basic features in the Inkscape tutorial: Basic
Step 4 - Hands on. Let's create a map
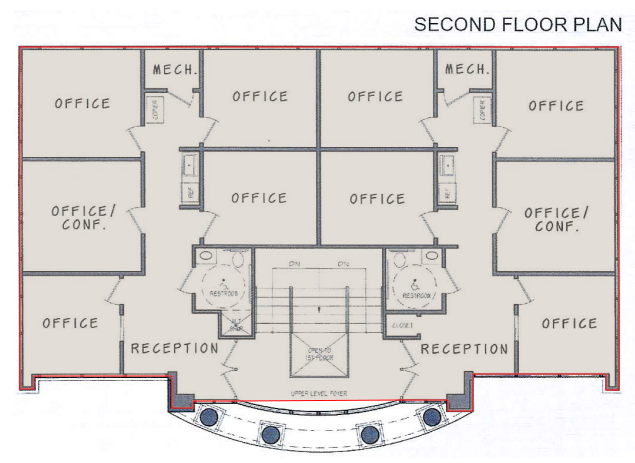
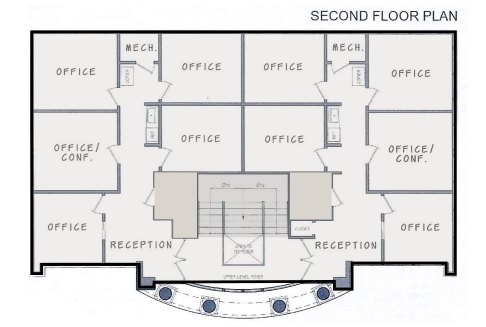
First you will need a map to recreate it in the editor. For this tutorial we will use the following map simulating that is the floor plan for a customer demo.
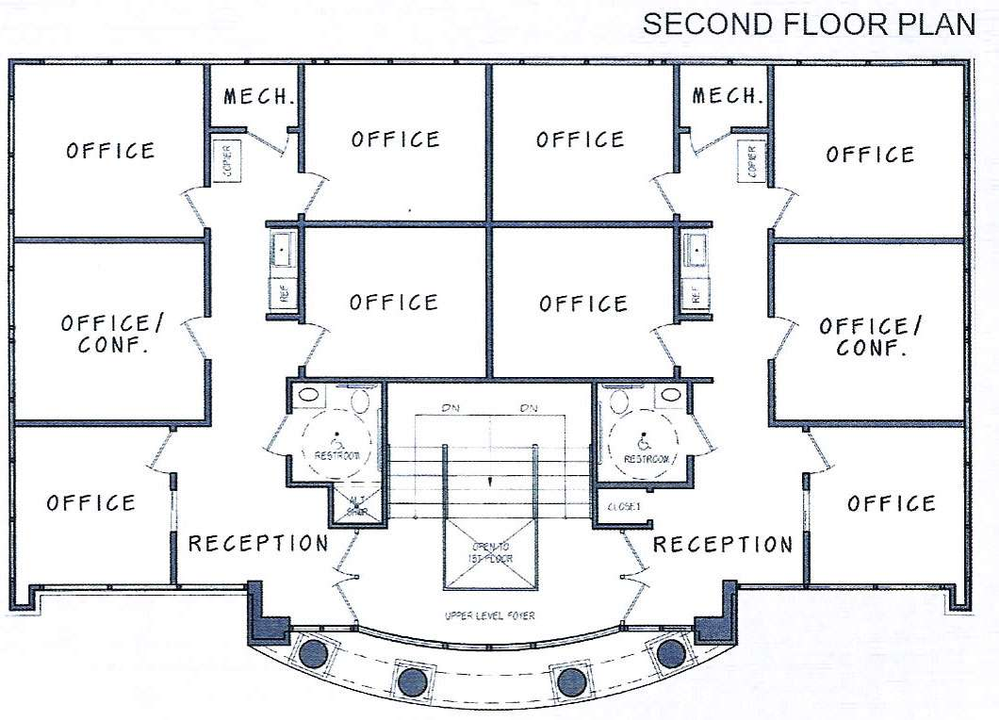
To start with you should know in which scale you are going to work with your map in order it maintains the shape and will be displayed correctly in the editor.
- Change size: You can change the workspace height and width in the following route: File -> Document Properties (Also using Shift + Ctrl + D combining keys) and in custom size fields update the values for what you want.
This will increased or reduce the size of your work space.

To continue we are going to create a layer named Base
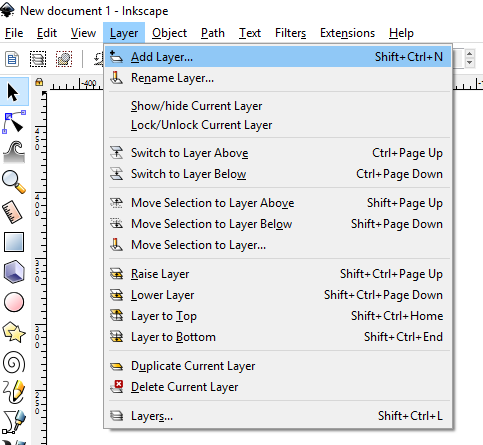
Creating a new Layer: To create a new Layer go to Layer option on tab menu bar and Select Add Layer (or press Shift +Ctrl+N)
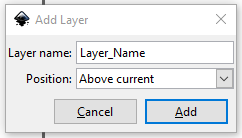
Select a Layer_Name and click Add buttom
With Layer created, paste the image Map into the work space, and it is now an object in our file
- See Objects in your file: You can see all Objects in your file by clicking in Objects options, and select Objects…, this will show a panel with the objects grouped by Layers

This is an example with one object and one Layer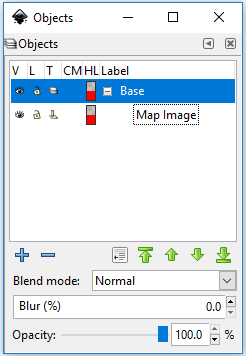
If you click the eye in the left of the object you will hide the object and it won't be seen in the editor unless you clicked again, if you click the eye in the left of the layer you will hide all elements in that Layer
With the map image in the editor we will be creating the Layers required and adding the objects to represent the map.
Note: You can choose the colors you want because they will be replaced in the editor. You can see the colors used by the editor in this page
floor Add a new layer named floor and create a path of points that describes all outline of the map
All objects | Only current Layer |
 |  |
Be careful that you are in the layer for the object you are drawing
- Create object from path: Select Draw bezier curves and straight lines tool, and click
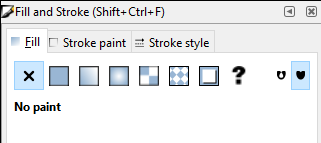
And you can change properties with fill and stroke pane (To access to this panel go to Object and select Fill and Stroke option, you can also use Shift+Ctrl+F combination keys)
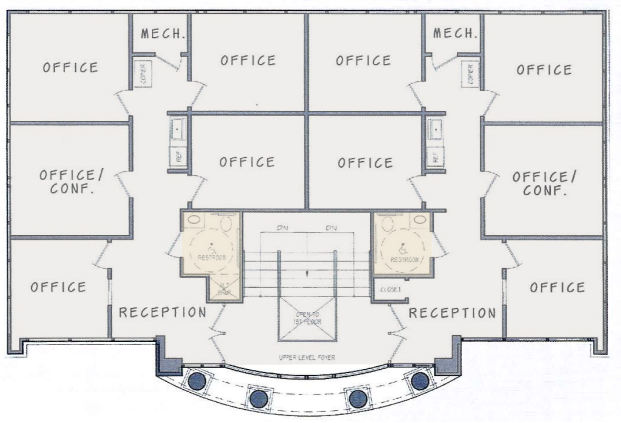
restrooms
All objects | Only current Layer |
 |
 |
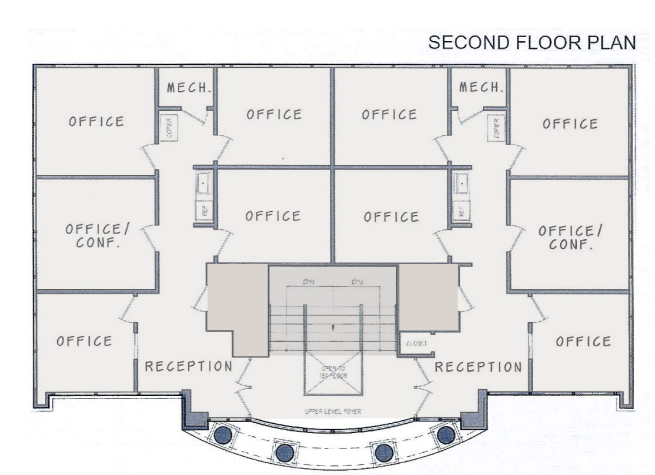
stairs-elevators
All objects | Only current Layer |
 |  |
exterior-walls
All objects | Only current Layer |
 | 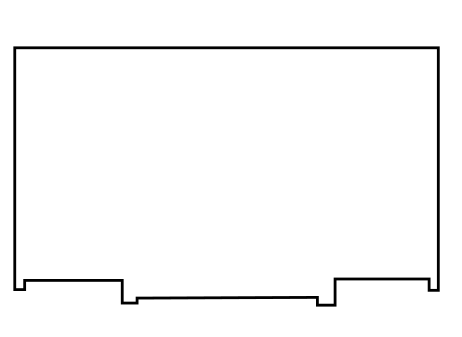 |
interior-walls
All objects | Only current Layer |
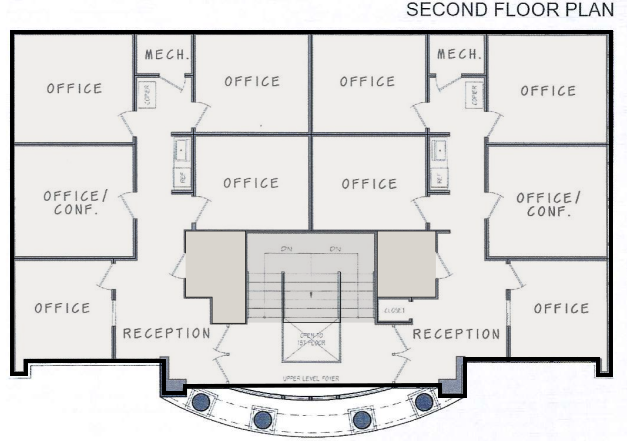
| 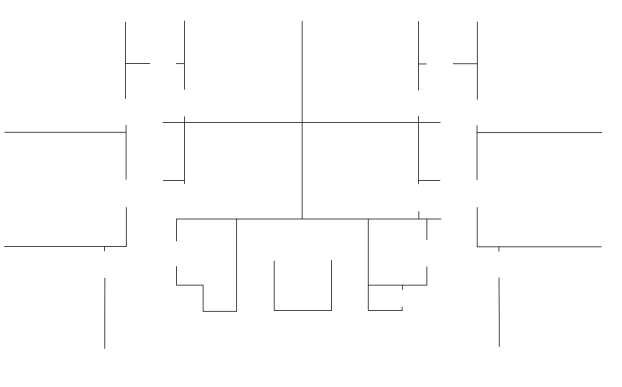 |
When you finished all Layers you want, erase the object that contain the map image and you will see the map:
Now save the file in a location as Inkscape SVG. And we have completed the map.
Step 5 - Parsing the file to be Readable by Meridian
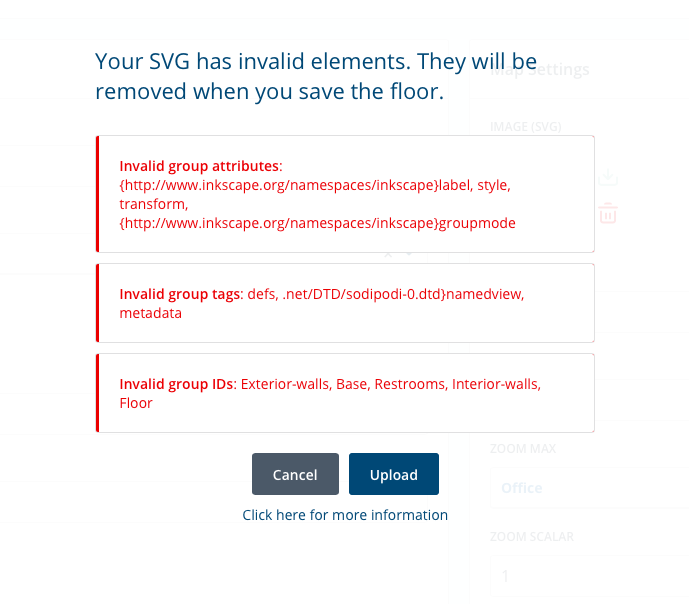
Unfortunately Inkscape Layer ID are not set by the name, therefore if you will upload the file (at this moment) to Meridian Editor you will receive an error message that the file has groups not supported.
To overcome this, you only need to change the id in each Layer for the correct name. You can do it manually using the file with a text editor
The following image is an example of how a Layer is represented in a text editor, as you can see the name you defined before is assigned to inkscape:label tag and not in the id, so you can copy the value into the id
As Is

To Be
Step 6 - Time to upload the Map
To upload the map file its necessary a valid and active Meridian account, so please Log in into your account and location where you want to upload the map.
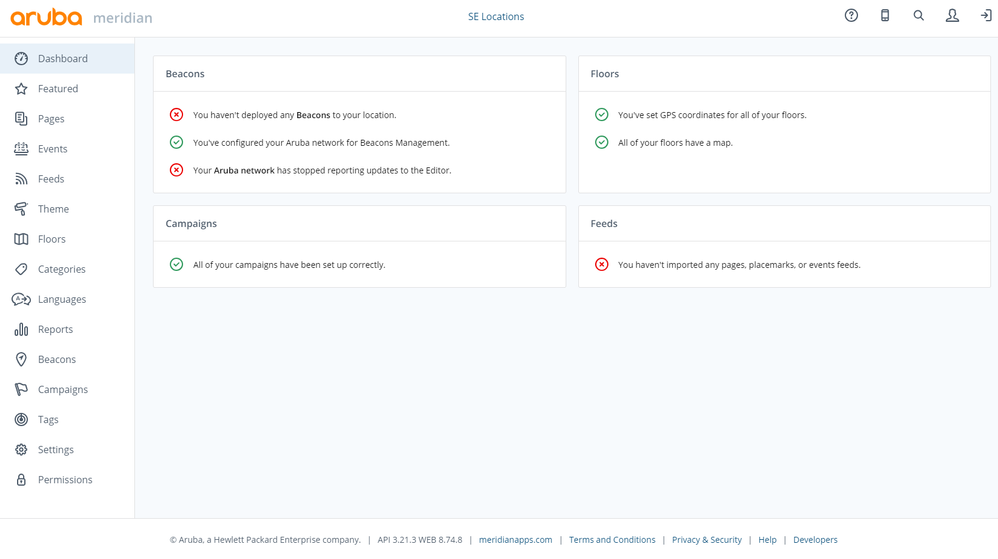
Go to Floors option

Select Add+ Option to create a new map and complete the fields you consider necessary
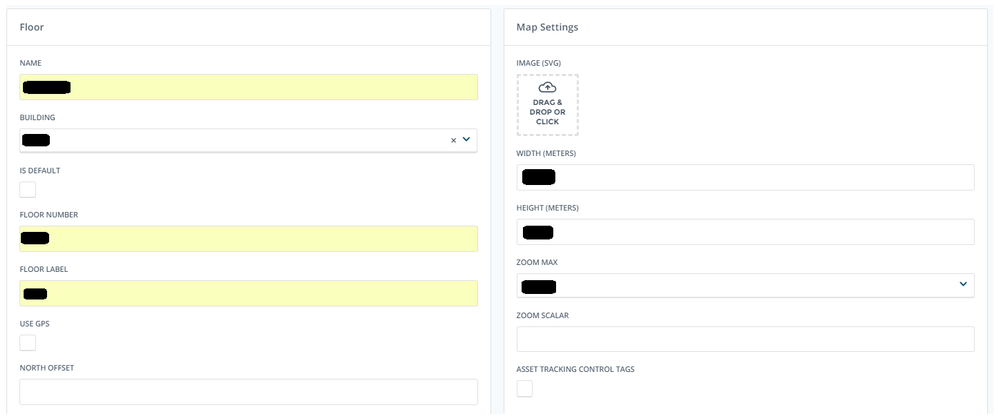
To load the map file click over the IMAGE (SVG) option and select the file in your computer. After validating the file a message will be show
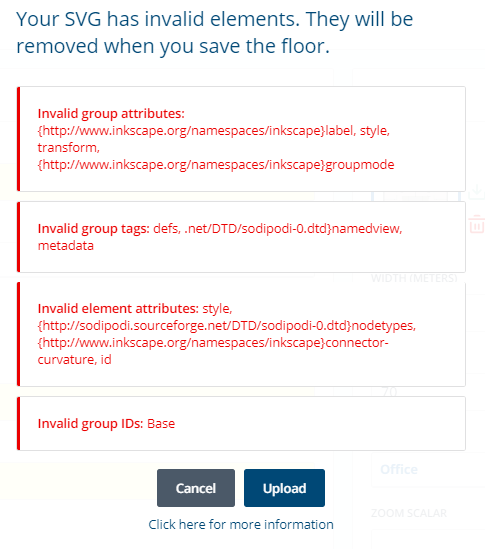
The Meridian editor will be delete all information that he could not parse as the metadata added by inkscape, as this data it's not necessary the file will be shown correctly in the editor, so click Upload button to continue.
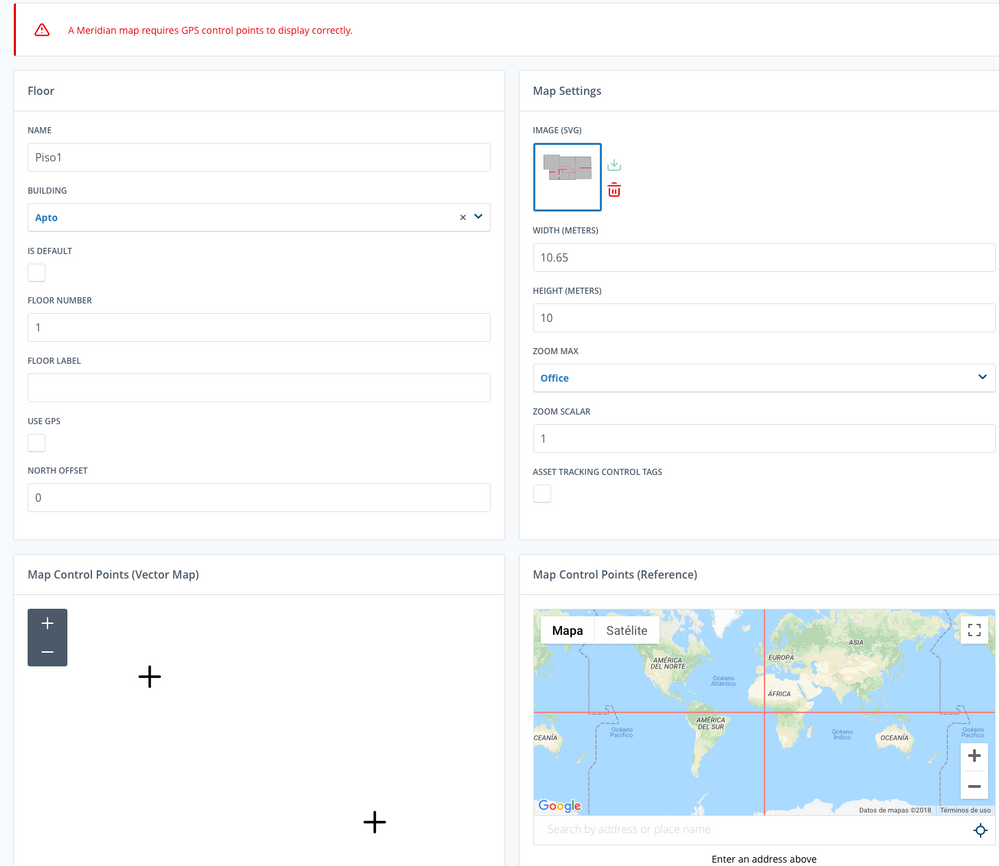

Click Save button, and set the control points to complete the map setting

If you go to Floor option again, you will see the map in your map list, an you can already set placemarks or routings
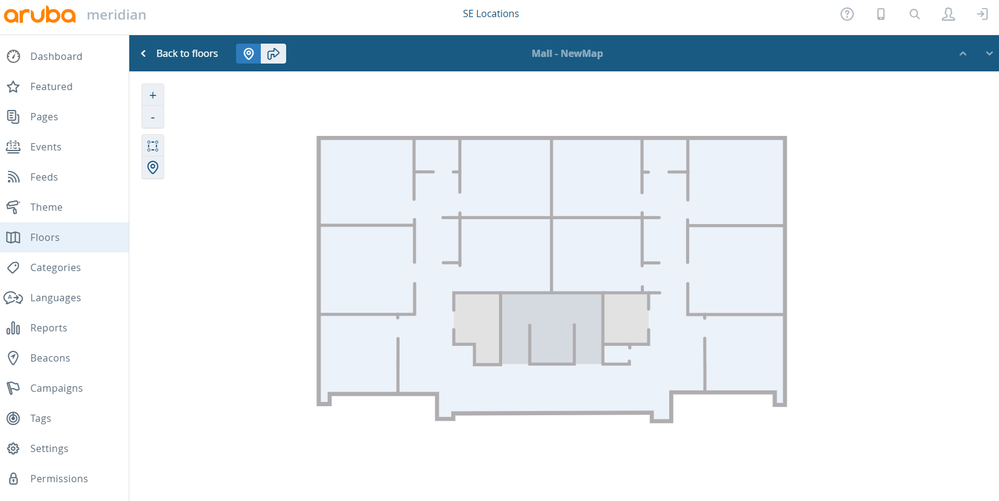
Congratulations you have creating and uploading your new map!!!
Note: when you are uploading your maps be sure you have no Invalid groups Ids listed. For example if you named the Layers with capital letters this will cause an error when the editor will parse the file
Created by Juan Gallego and Cesar Montaño.
#ArubaTags#ALE#LocationServices#Meridian