The question has been asked many times how to configure an Apple TV with EAP-PEAP on the Aruba forums and elsewhere on the web. Many comments were hurled about the Apple TV clock issue and Certificates. The latest Apple TV code resolves the clock Certificate problem.
Friends commenting on the Certificate and clock problem:
http://community.arubanetworks.com/t5/AAA-NAC-Guest-Access-BYOD/Apple-TV-802-1X-PEAP-authentication/td-p/67270
Apple TV Clock Issue:
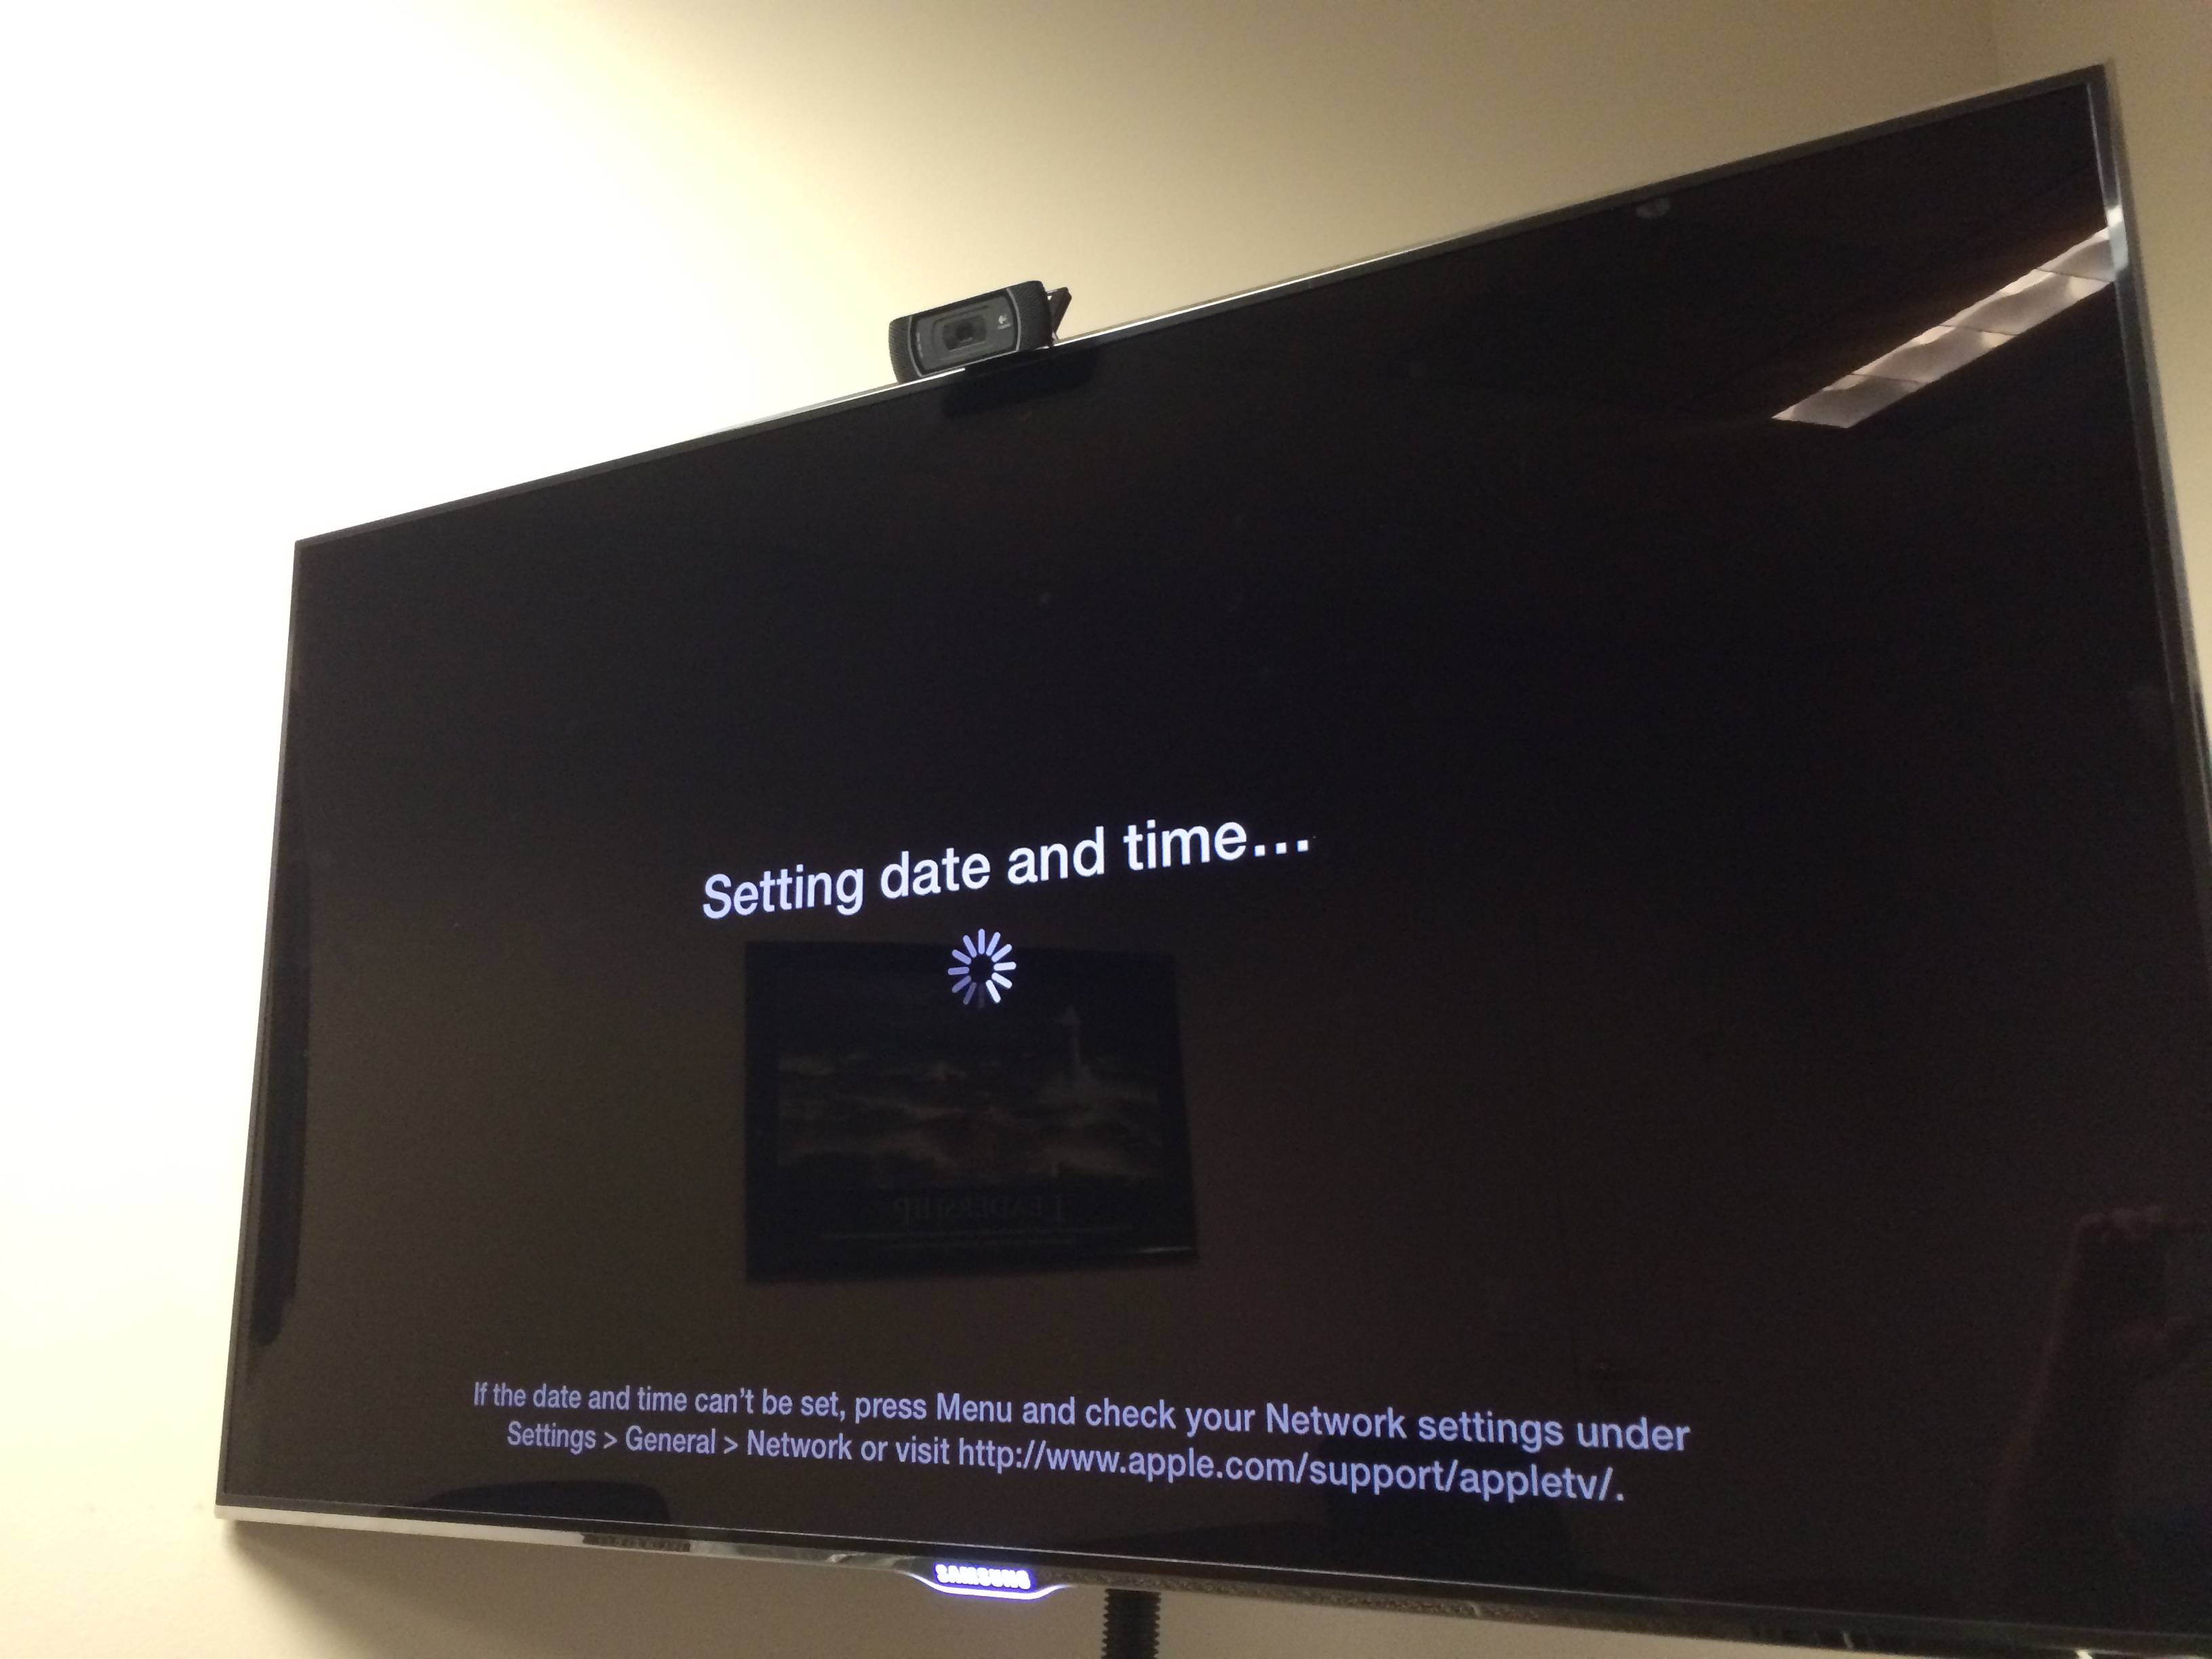
As I understand, Apple TV’s do not have a battery powered internal clock. If you watch carefully you’ll see the Apple TV connects to Apple for NTP. Once you push an EAP-PEAP profile a ROOT and INTERMEDIATE certificate are added. However when Apple TV loses power it loses its clock to validate the device Certificate when booted.
This is what a user would expect after the Apple TV is rebooted with a PEAP profile on older code.
Example: Apple TV Software: 5.3 (6105)

Apple TV Clock Resolved:
It’s not clear to me what Apple did to manipulate the clock in the recent 6.x release. I have a few ideas how this might be fixed. But one thing is clear. My 20 Apple TV’s with EAP-PEAP are surviving power reboots with no issues and authenticating. My latest deployment of Apple TV’s with EAP-PEAP are working without a problem on code 6.0.2 (6646.81.1). Even after pulling the power over ten times to make sure !
How to Configure Apple TV’s for EAP-PEAP:
1. Download Apples Configurator
https://itunes.apple.com/us/app/apple-configurator/id434433123?mt=12
2. Launch Apple Configuration and click the “+” under settings

3. General Mandatory
Name: Apple_TV_EAP-PEAP_Profile
Organization: LAB
Description: LAB

4. Wi-Fi
Service Set Identifier (SSID): <Insert you SSID>
Hidden Network: <Check box if your SSID is not broadcasted>
Security Type: <WPA / WPA2 Enterprise>
Enterprise Settings Protocols: <PEAP>
Username: <User ID>
Password: <User Password>
Outer Identity: <Put anything in here. This is the outer ID PEAP uses in phase 1>

5. Certificate
Click on Certificates (left hand side) add your Certificate payload. Specifically you install the ROOT and INTERMEDIATE Certificates here from your CA or PKI.
In my LAB example the Radius Server Certificate (device Certificate) installed on the Radius Server is signed by Entrust. I visited Entrust’s website and downloaded the public ROOT and INTERMEDIATE Certificate.
Entrust.net Certification Authority (2048) - ROOT Certificate
Entrust Certification Authority - L1C - INTERMEDIATE Certificate

A. As part of the EAP-PEAP process the Radius Server sends the radius EAP Certificate which is installed on the Radius Server (also referenced as device Certificate) to the Apple TV.
B. Apple TV uses the EAP Certificate received from the Radius Server to hash the Apple TV’s User ID and Password.
C. Apple TV returns the hash to the radius server. For you PEAP guys this process is phase 2 of EAP-PEAP.
D. Radius Server receives the hash, decrypts it using the Certificate’s private key to reveal the Apple TV’s User ID and Password.
The reason for requiring the ROOT and INTERMEDIATE Certificate installation on the Apple TV (above) is because the Radius Server Certificate (device Certificate) which is sent to the Apple TV has a Certificate Trust. If you open the Radius Server Certificate (device Certificate) you will see it requires the ROOT and INTERMEDIATE Certificate to be complete.
6. WiFi
Revisit the Wi-Fi section.
Enterprise Settings: <Click Trust>
Trusted Server Certificates: <Check box your root and intermediate certificate>
Trusted Server Certificate Names: <Added security you can enter your radius certificates name here. This is a certificate validation check>.

7. Push the profile!