In this post, I have used the Aruba 8320 Switch, which has 48 SFP+ 10GbE ports and 6 QSPF+ 40GbE ports.
We will looking on how to configure this ArubaOS-CX switch for initial access and perform a software upgrade.
Console Access:
The speed of the serial link must be set to 115200 bits per second, in order to get console access to the switch.
The default username is admin with no password set.
Getting the Out-of-band management interface UP:
The below commands will turn on the Out-of-band interface to UP state and get the IP address from the DHCP Server.
8320#
8320# configure terminal
8320(config)# interface mgmt
8320(config-if-mgmt)# no shutdown
8320(config-if-mgmt)# ip dhcp
8320(config-if-mgmt)# end
8320#
Verify using “show interface mgmt”.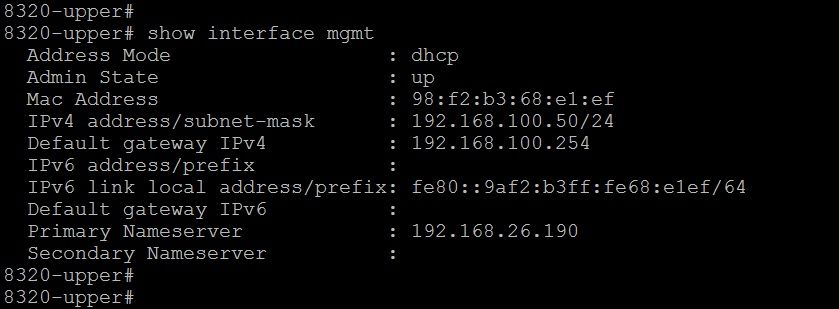
Enable SSH on 8320 Switch:
The following commands will enable SSH access on 'default' and 'mgmt' VRF instance.
8320-lower#
8320-lower# configure terminal
8320-lower(config)# ssh server vrf mgmt
8320-lower(config)# ssh server vrf default
8320-lower(config)# end
8320-lower#
Now you will be able to get SSH Access.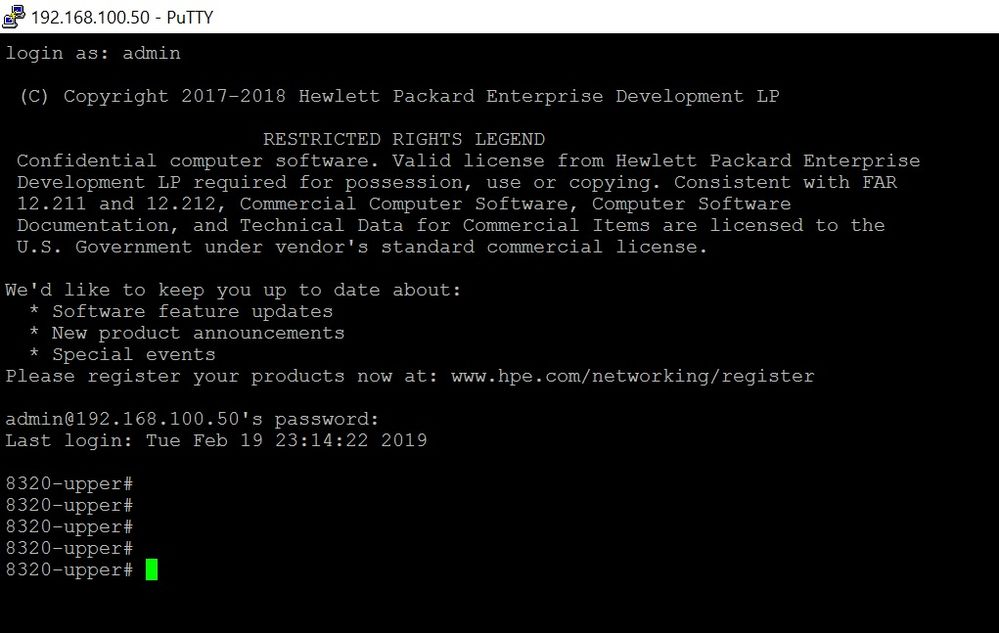
Enable Web Interface on 8320 Switch:
In order to enable WebUI access on ArubaOS-CX switch, you need to configure password for the username ‘admin’
Configuring password for the username ‘admin’
8320-lower#
8320-lower# configure terminal
8320-lower(config)# user admin password
Changing password for user admin
Enter password: *********
Confirm new password: *********
8320-lower(config)# end
8320-lower# write memory
Success
8320-lower#
Now you can enable the WebUI access on this ArubaOS-CX 8320 switch.
8320-lower#
8320-lower# configure terminal
8320-lower(config)# https-server vrf mgmt
8320-lower(config)# https-server vrf default
8320-lower(config)# end
8320-lower# write memory
Success
8320-lower#
Now you will be able to access the WebUI.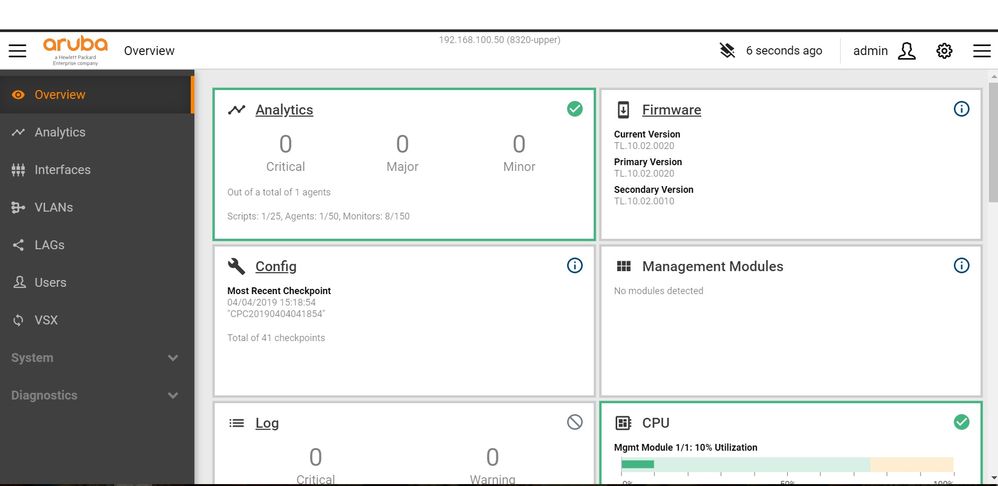
Upgrade image via TFTP:
The ArubaOS-CX 8320 Switch software image can be downloaded from https://asp.arubanetworks.com/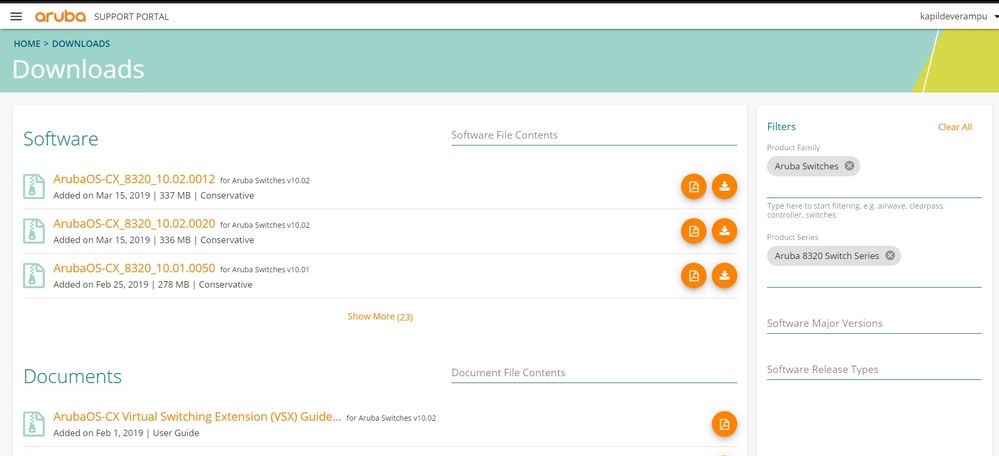
Have the image hosted on the TFTP Server.
8320-lower# copy tftp://172.30.30.6/ArubaOS-CX_8320_10_02_0020.swi primary vrf mgmt
The primary image will be deleted.
Continue (y/n)? y
Upgrade image via USB:
You need to enable and mount the USB first using the below commands.
8320-upper# show usb
Enabled: No
Mounted: No
8320-upper# configure terminal
8320-upper(config)# usb
8320-upper(config)#end
8320-upper# usb mount
8320-upper#
8320-upper# show usb
Enabled: Yes
Mounted: Yes
8320-upper#
Now perform the upgrade from USB.
8320-upper#
8320-upper# copy usb:/ArubaOS-CX_8320_10_02_0020.swi primary
The primary image will be deleted.
Continue (y/n)? y
Verifying and writing system firmware...
Success
8320-upper#
Performing the boot:
Now boot the system
8320-upper# boot system primary
Default boot image set to primary.
This will reboot the entire switch and render it unavailable
until the process is complete.
Continue (y/n)? y
The system is going down for reboot.
Use ‘show images’ command to verify the image in each partition.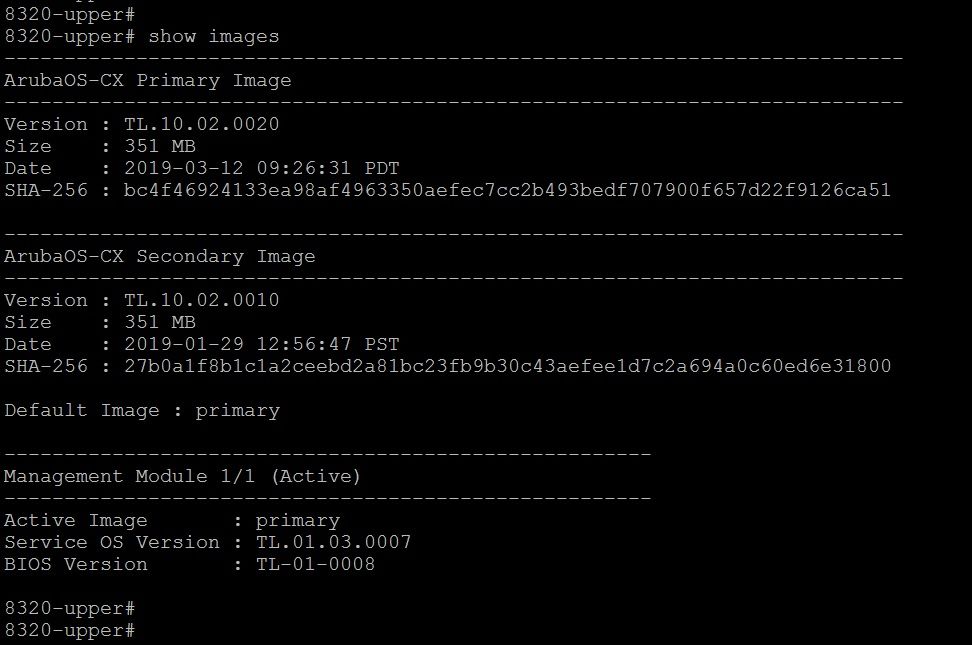
Hope you find this post useful to get your ArubaOS-CX Switch up and running :)