Hi All,
Just thought i would throw together a "quick start" guide for anyone who needs a bit of a hand getting going with the Aruba User Experience Insights sensors.
(Note: I assume you have access to the dashboard, and you may or may not have run through the onboarding wizard).
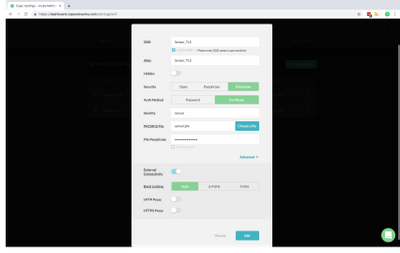
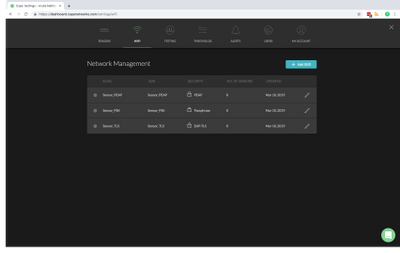
The sensor can be configured for multiple wireless networks. Lets see how we configure a Pre-Shared Key SSID, a EAP-PEAP(MSCHAPv2) network and an EAP-TLS network. PSK Wireless Network:
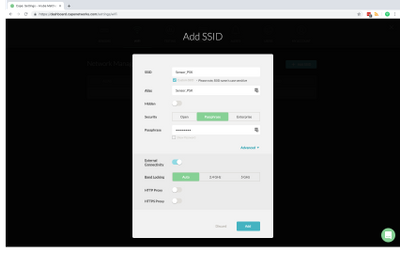
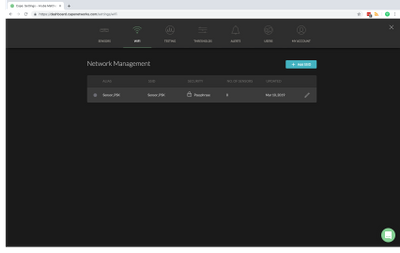
First up lets configure a simple PSK wireless network. All we need for this is the name of the SSID that the sensor is connecting to and the password. We can optionally configure band locking (i.e. if we only want to test 2.4GHz or 5GHz). We can also configure proxy authentication if it is required on the network. If you are performing SSL inspection and require the sensor to trust a self signed or a certificated signed by your own CA, please reach out to you local Aruba team, as they will be able to assist you in getting this setup.
EAP-PEAP(MSCHAPv2) Wireless Network:
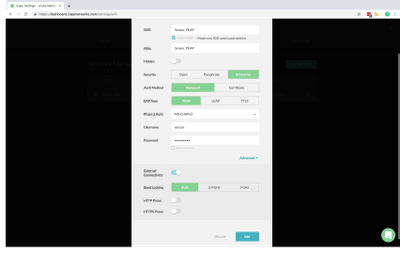
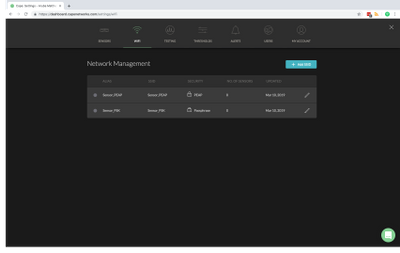
Lets now setup a PEAP wireless network (username/password). For this like before we will need to have the SSID name configured as well as the authentication type, in this case we are performing EAP-PEAP with MSCHAP. The username and password could be something that is configured on your wireless controller or if you are authenticating against a RADIUS server a "service" account in Active Directory could be used. We can optionally configure band locking (i.e. if we only want to test 2.4GHz or 5GHz). We can also configure proxy authentication if it is required on the network. If you are performing SSL inspection and require the sensor to trust a self signed or a certificated signed by your own CA, please reach out to you local Aruba team, as they will be able to assist you in getting this setup.
EAP-TLS Wireless Network:
Finally lets configure an EAP-TLS network. For the TLS network we will need to load up a user or machine certificate onto the sensor to use for authentication. This could be a certificate from your Certificate Authority or from your RADIUS server if it supported its own CA function. We can optionally configure band locking (i.e. if we only want to test 2.4GHz or 5GHz). We can also configure proxy authentication if it is required on the network. If you are performing SSL inspection and require the sensor to trust a self signed or a certificated signed by your own CA, please reach out to you local Aruba team, as they will be able to assist you in getting this setup.
Adding a Sensor:
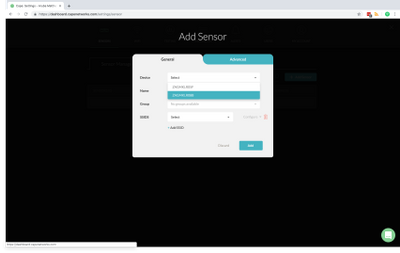
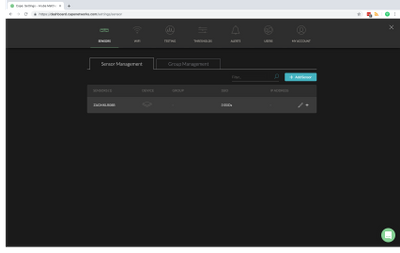
Once a sensor has been added to your account you are then able to select it from the add sensor screen.
Adding the Wireless Networks to the Sensor:
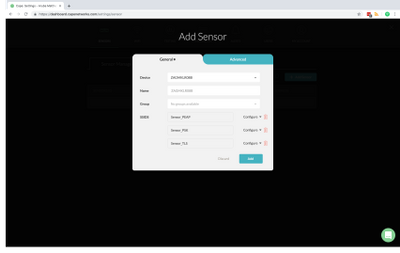
Once you have selected the sensor to add you can add the pre-configured wireless networks that you would like the sensor to test.
Enabling Ethernet Testing (Optional):
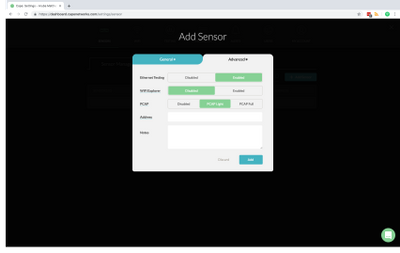
From the advanced tab you are able to enable "Ethernet" testing if you would also like to test the wired network. However this is optional.
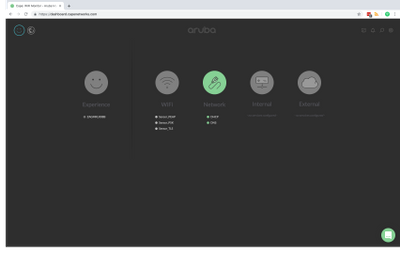
(After a minute or two the sensor should now have tested connectivity to each wireless network)
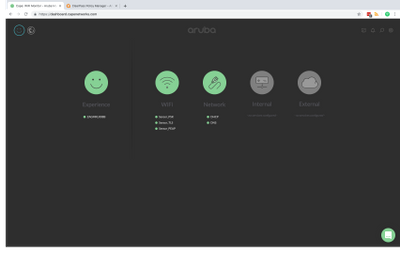
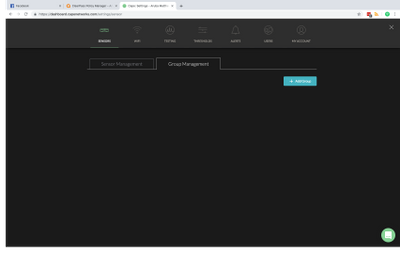
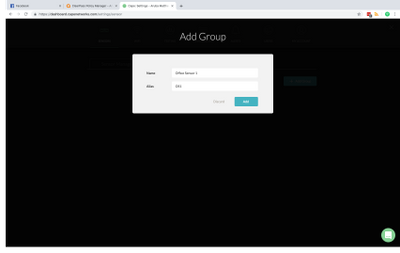
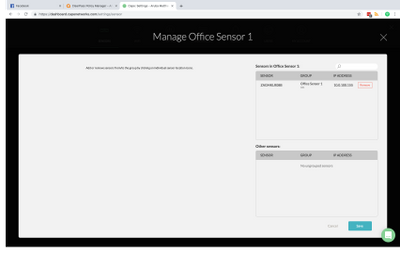
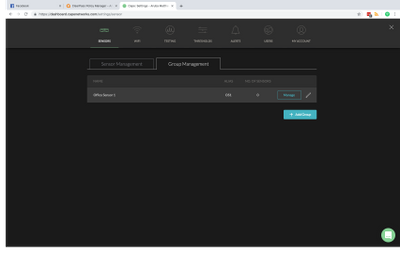
Add the Sensor to a Group (Optional):
Groups can be used to better define the location or testing function of a sensor. i.e. you could group multiple sensors to a "site".
Creating Tests:
Both internal and external tests can be created or can be chosen from a list of pre-defined tests. There is no real difference between an internal or external test however it can be a good idea to configure internal tests as ones that are located within your corporate network (site/DC), and external as public/SaaS applications.
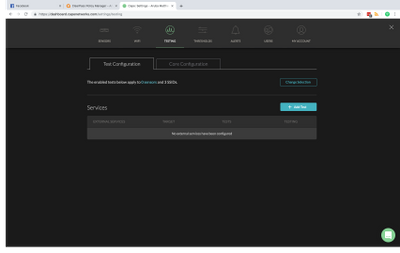
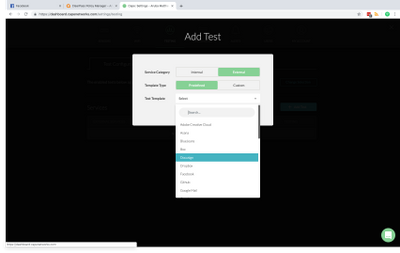
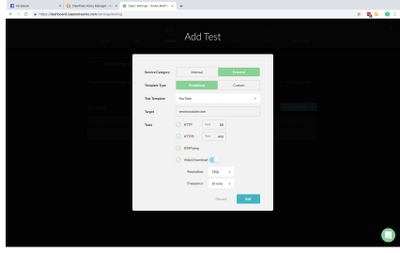
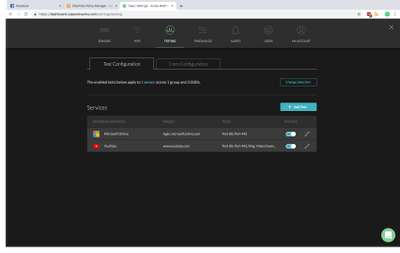
(after a minute or two the sensor will have completed its first test run)
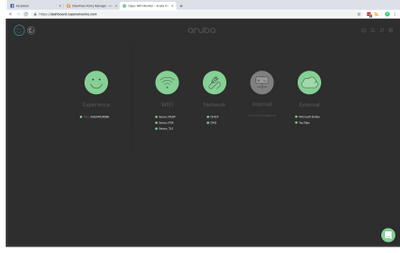
Setting Thresholds:
Every network is unique and as such defaults should never be left at the default. The sensor allows for the modification of several thresholds such as DNS, DHCP, wireless signal strength and many more. A good rule of thumb is to allow the sensor to run with the defaults for 2-3 days. After this you can come back and change the thresholds to meet what the "average" is on your network. For example DHCP by default will error if the sensor doesn't get an IP for 10 minutes, however this might not be acceptable for your network and you may set it to something much lower.
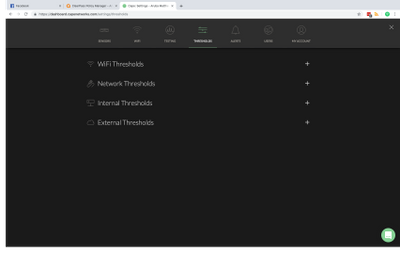
 A good example of modifying the thresholds, would be modifying the dBm thresholds to adhere to a wireless network that has VoIP traffic. If we see that the sensor pics up a signal worse than -65dBm then we should warn, but if we see it get worse than -67dBm it should error.
 Support:
Don't forget that you can reach out to support at any time by using the support chat on the lower right corner of the dashboard.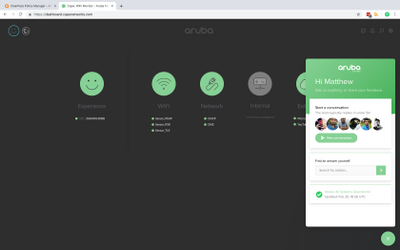
#ArubaSensor