Requirement:
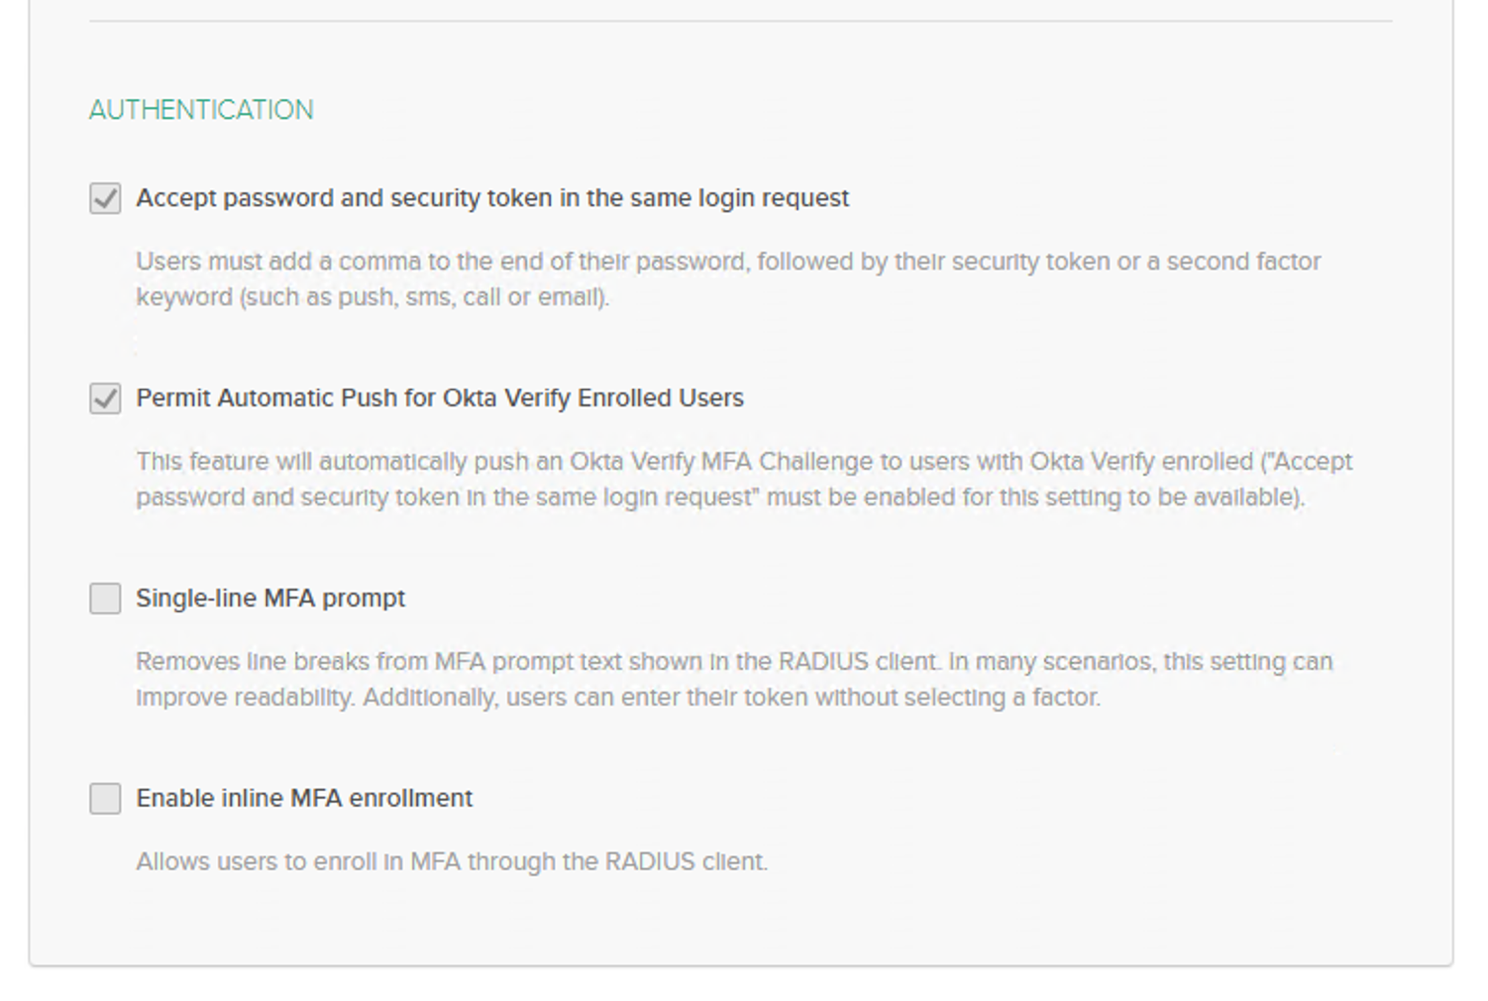
In addition to conventional TACACS authentications against CPPM, we would want to have user to go through MFA via Push Notifications, Tokens while using Okta with CPPM.
This flow would be applicable for 6.7.x and later onwards and is applicable for CPPM UI login as well.
The current setup was implemented and tested while using ArubaOS-CX as the NAD Device.
Solution:
This article covers the integration of Clearpass with Okta for TACACS MFA
1. Logical Workflow of the Integration
2. System Requirements
3. Setting up CPPM for TACACS Policies
4. Setting up Windows Server 2012
5. Installing Okta's lightweight agent to integrate with Active
Directory
6. Installing Okta Radius AD Agent Manager
7. Installing Okta Radius Agent Manager
8. Provisioning AD on Okta for importing User and Groups
9. Installing and Setting up Radius Client on Okta
10. Updating MFA policies for Push notification and token based 2F.
11. Setting Aruba OS-CX for TACACS.
12. Testing the workflow
Configuration:
Logical Workflow of the Integration

System Requirements
• CPPM Server running 6.7.0 or Higher.
• Windows Server 2008 R2 or higher
• Okta Verify Mobile Application
• Aruba OS-CX running 10.x or higher
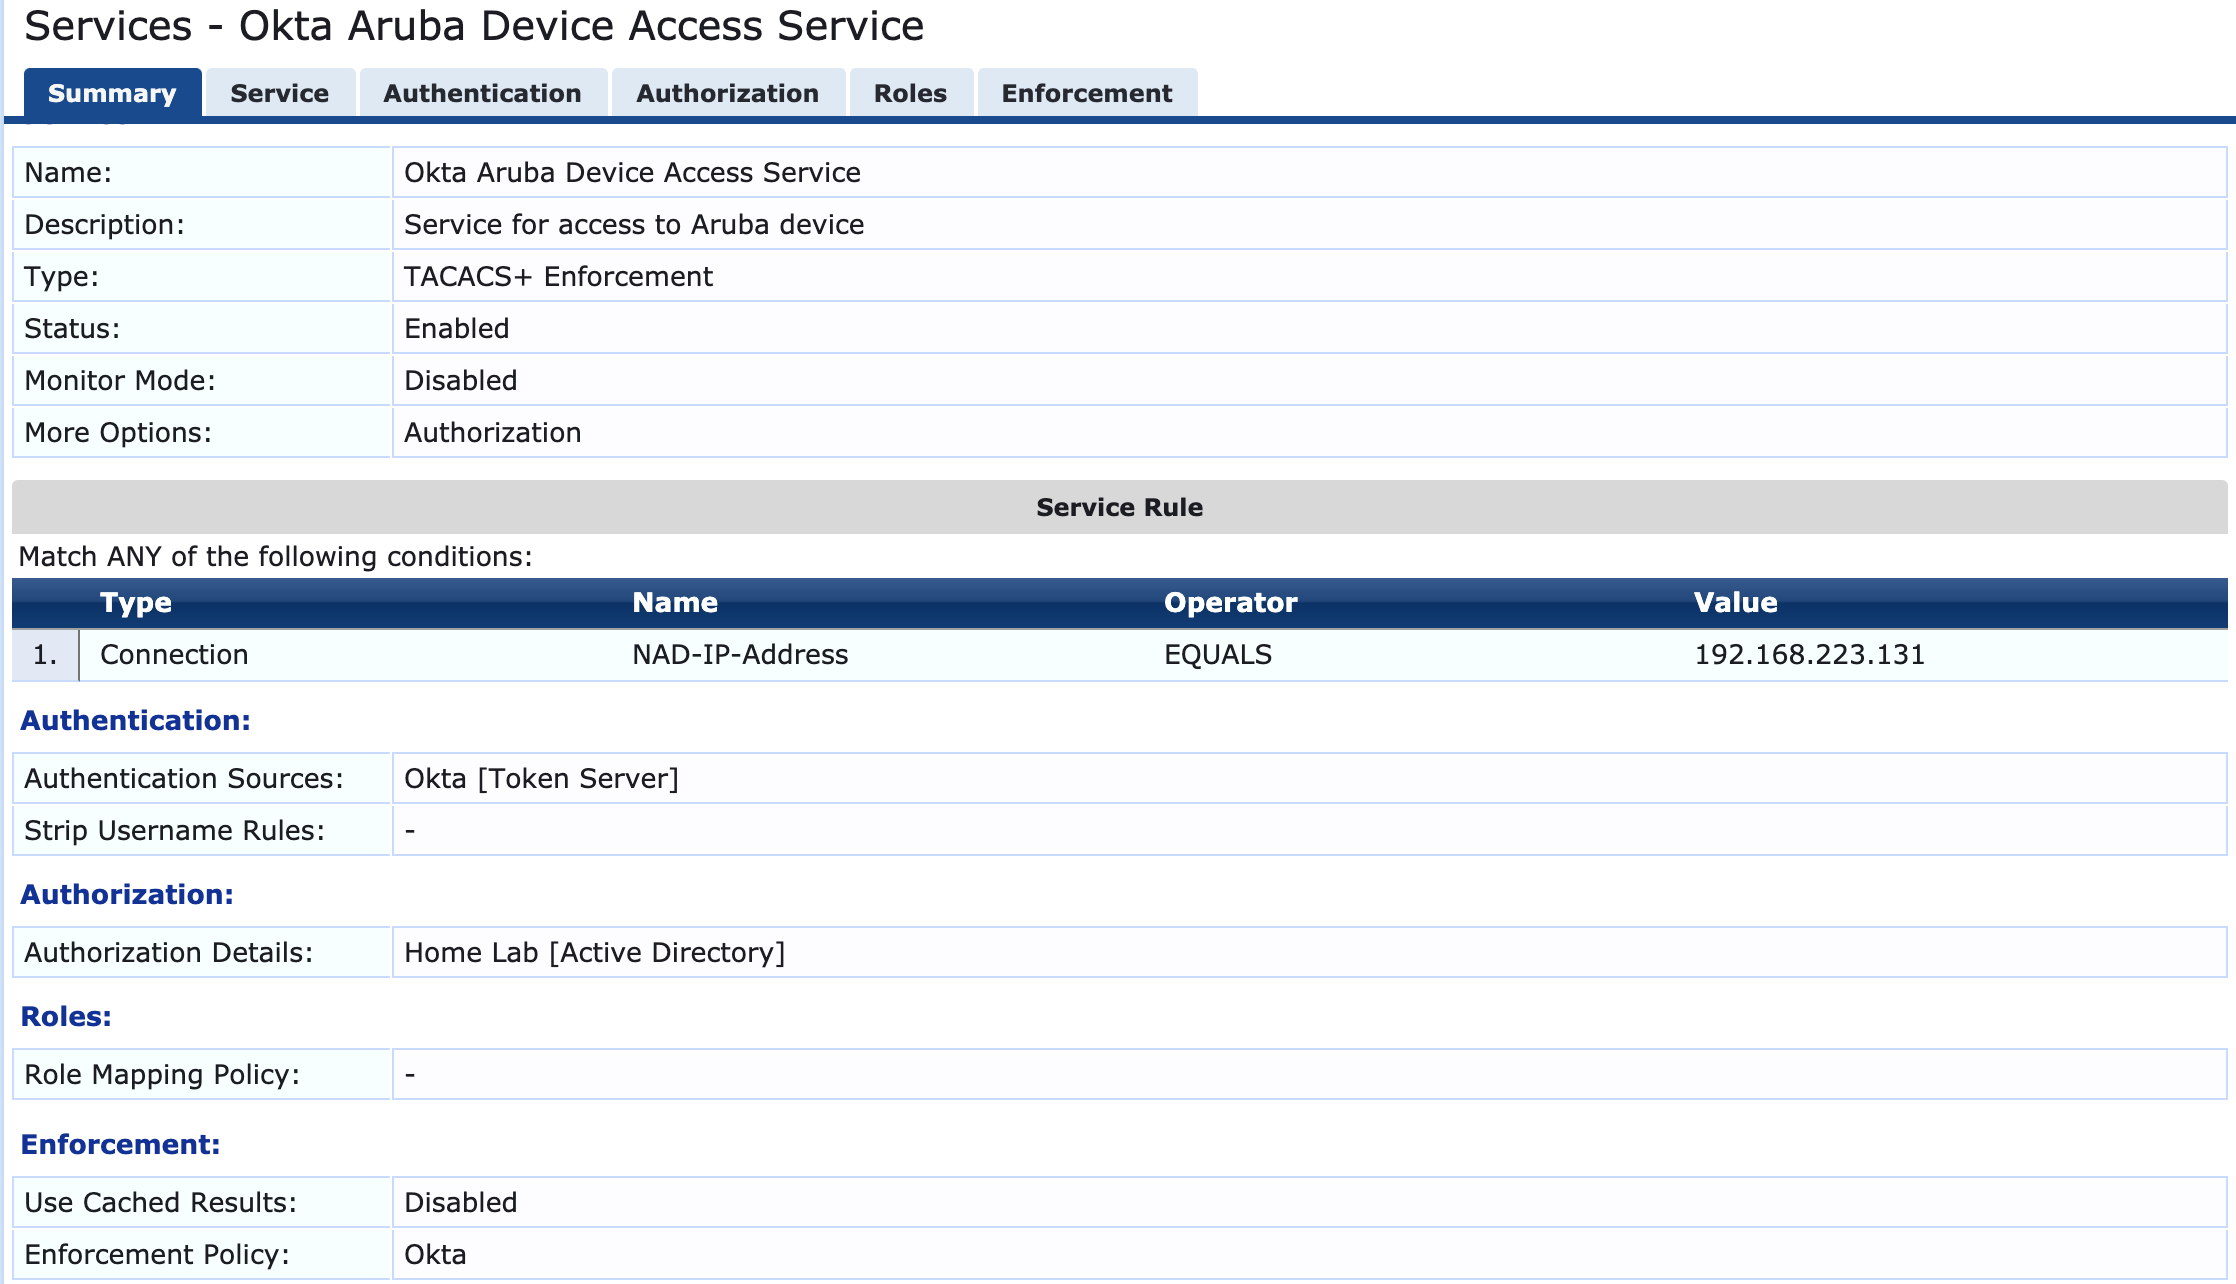
Setting up CPPM for TACACS Policies
1. Add the Radius server as Token Server

2. Add the AD as the authorization source to fetch the group membership for Role
mapping and enforcement policy building.
3. Update the IP and the share secret to be used between CPPM and AD

4. Add the NAD device under “Configuration » Network » Devices” and update the TACACS shared secret to be used between CPPM and NAD

5. Create a TACACS Service while having ‘Token Server’ as authentication source
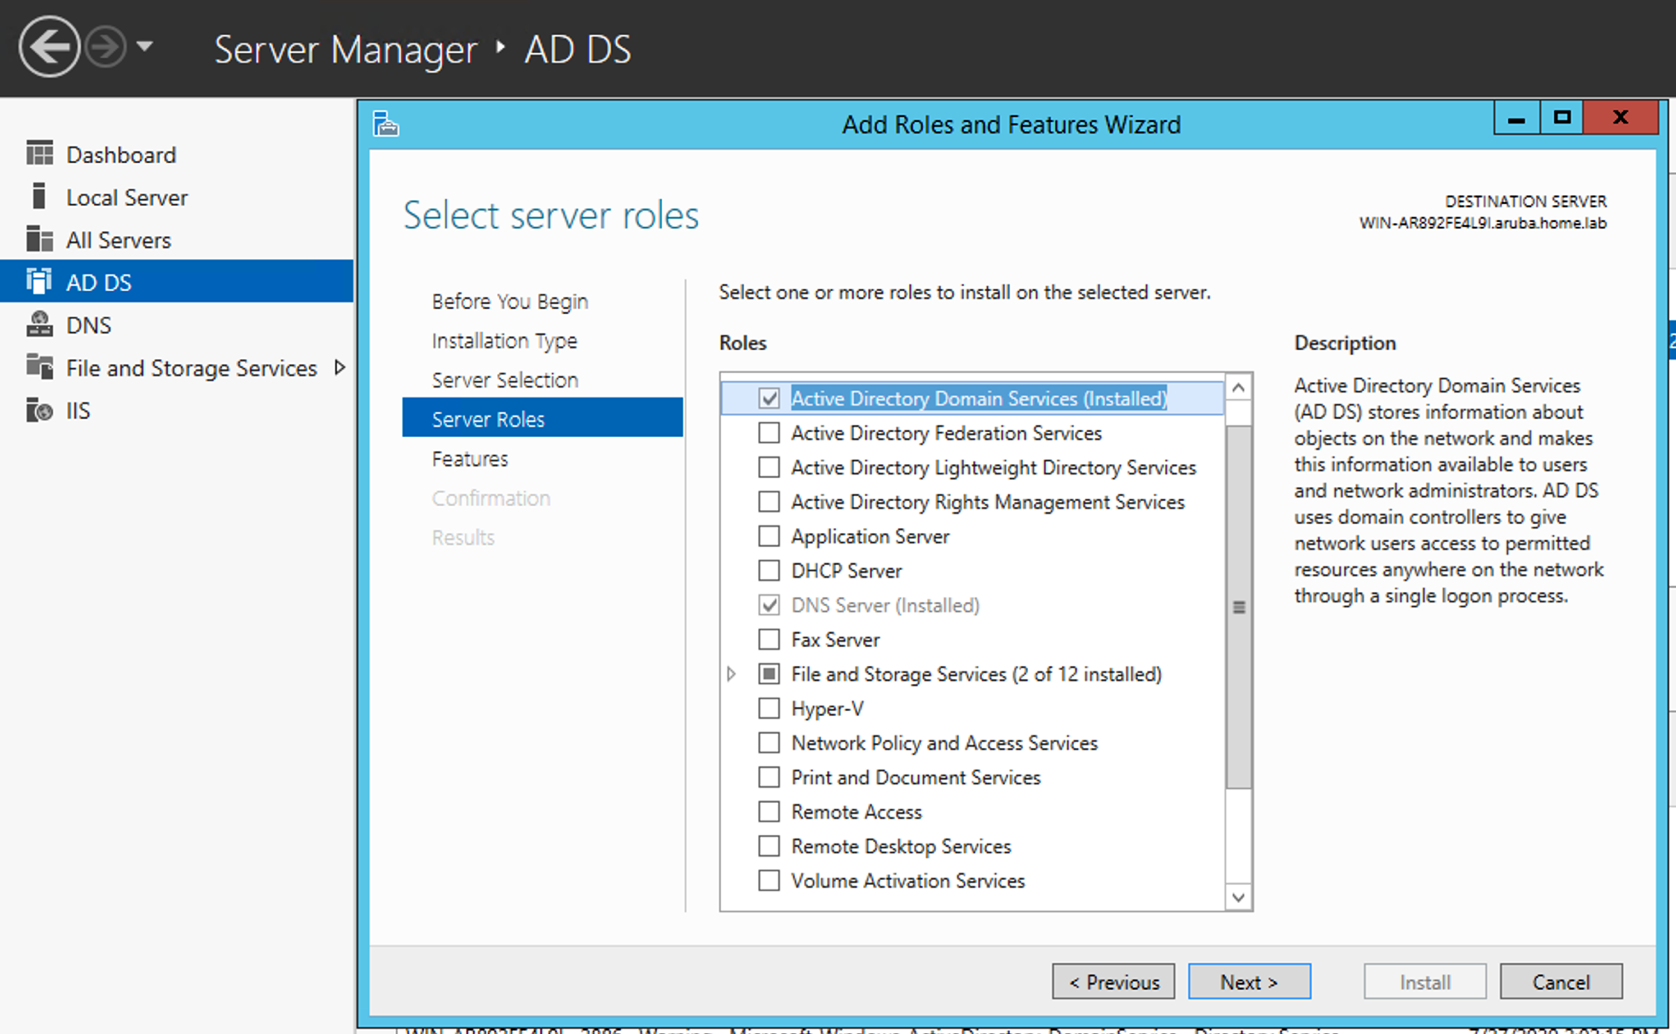
Setting up Windows Server 2012
1. Make Domain Services are installed and is a part of a Forest
Installing Okta's lightweight agent to integrate with Active Directory
1. Login to the Admin Console of Okta
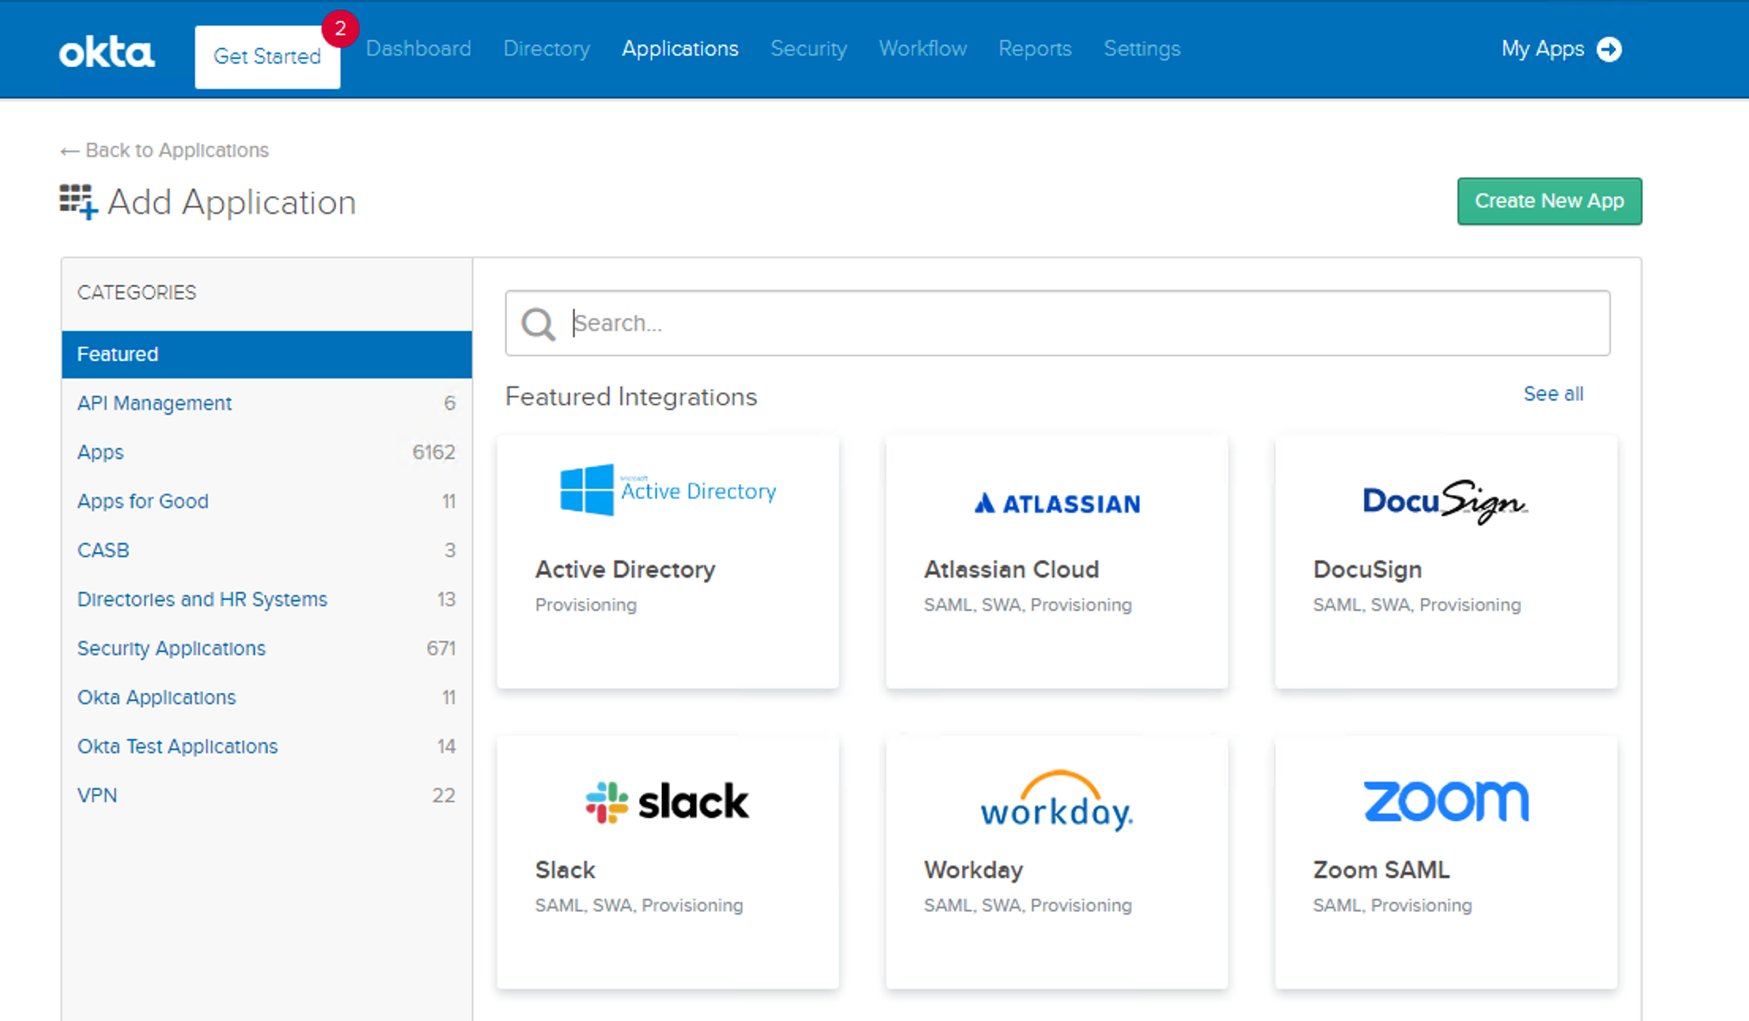
2. Navigate to Application > Add Application > Select ‘Active Directory’
3. Click on Add agent

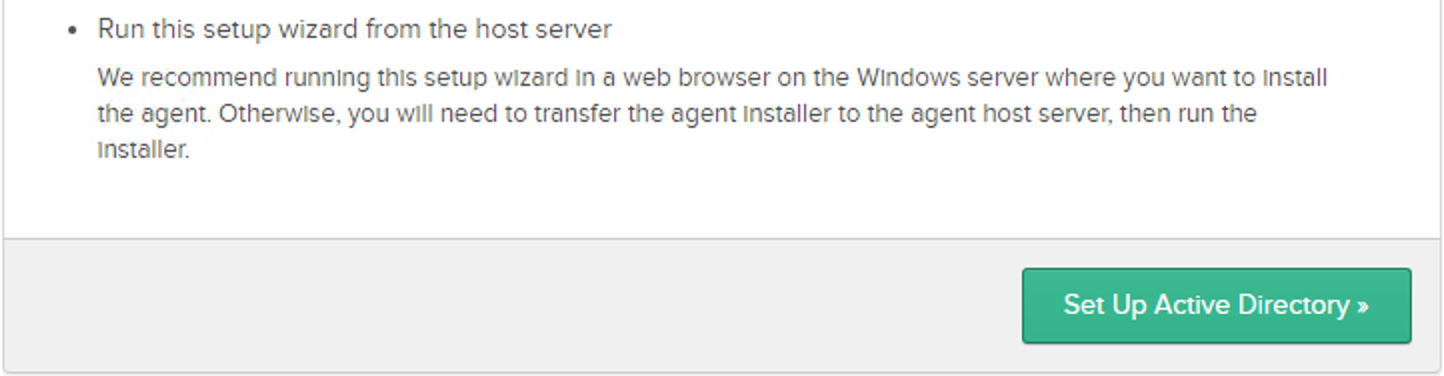
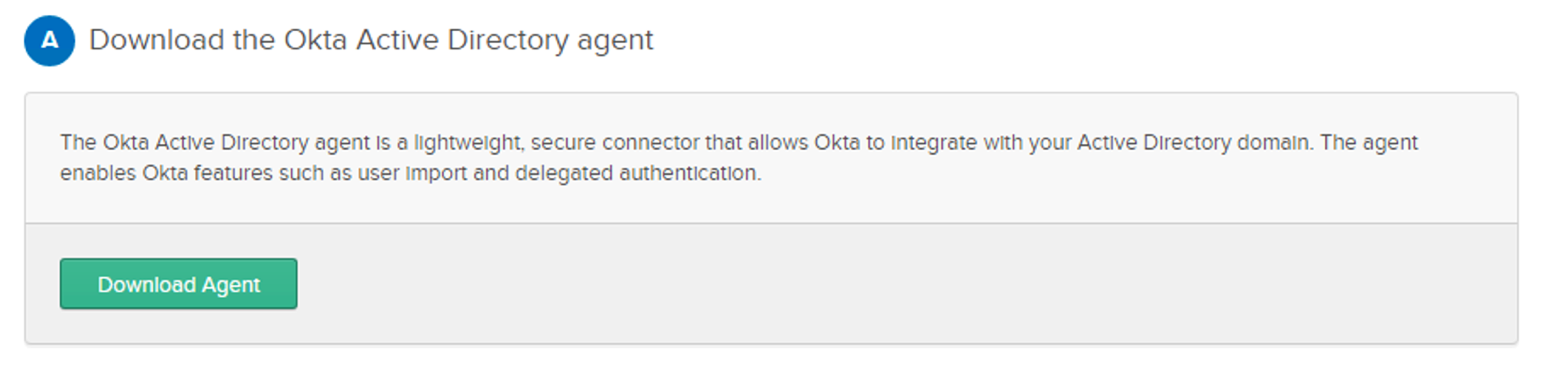
4. Click on ‘Setup Active Directory and Download the Agent’
Installing Okta Radius AD Agent Manager
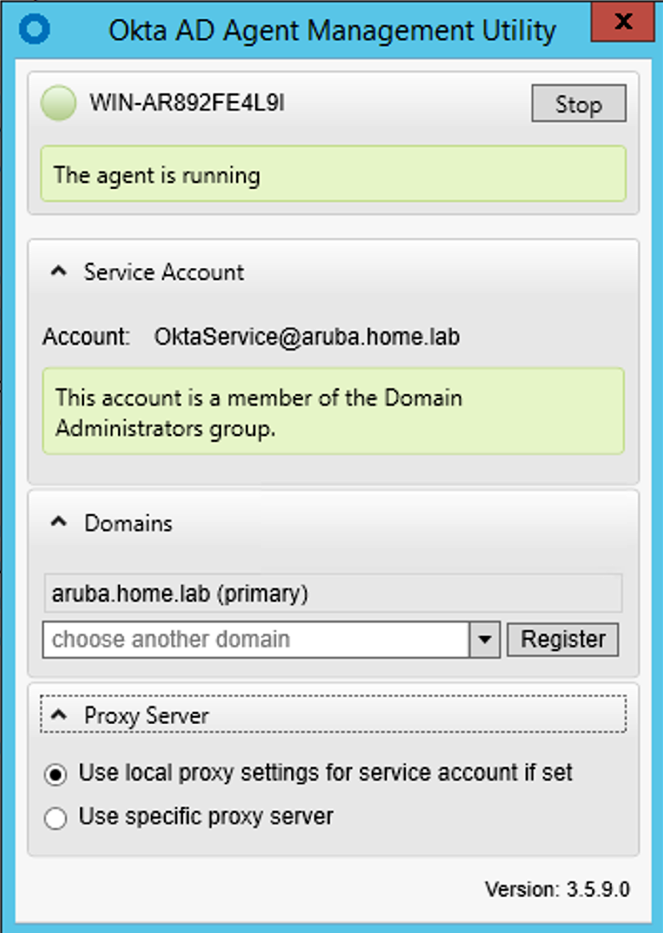
1. Install the AD agent application downloaded earlier
2. You can ignore the proxy settings ( to communicate with Okta Cloud from DC )
depending on the environment
3. Select a domain to register the Okta AD agent with Okta. To register the Okta AD
agent with the Okta service, enter your Okta subdomain name. This is the hpesandeep
part of the example: hpe-sandeep.okta.com.
4. Okta will prompt for the Okta login once domain is selected.
5. Click on ‘Allow Access’ for the permissions on final page.
6. Once installation is completed, make sure Okta Service account is created under the User directory

7. Post Installation run the Okta AD Agent Management and confirm the service status
Installing Okta Radius Agent Manager
To obtain the Radius Agent application
1. Login to Okta Admin Console
2. Go-to Settings > Downloads > Radius Applications
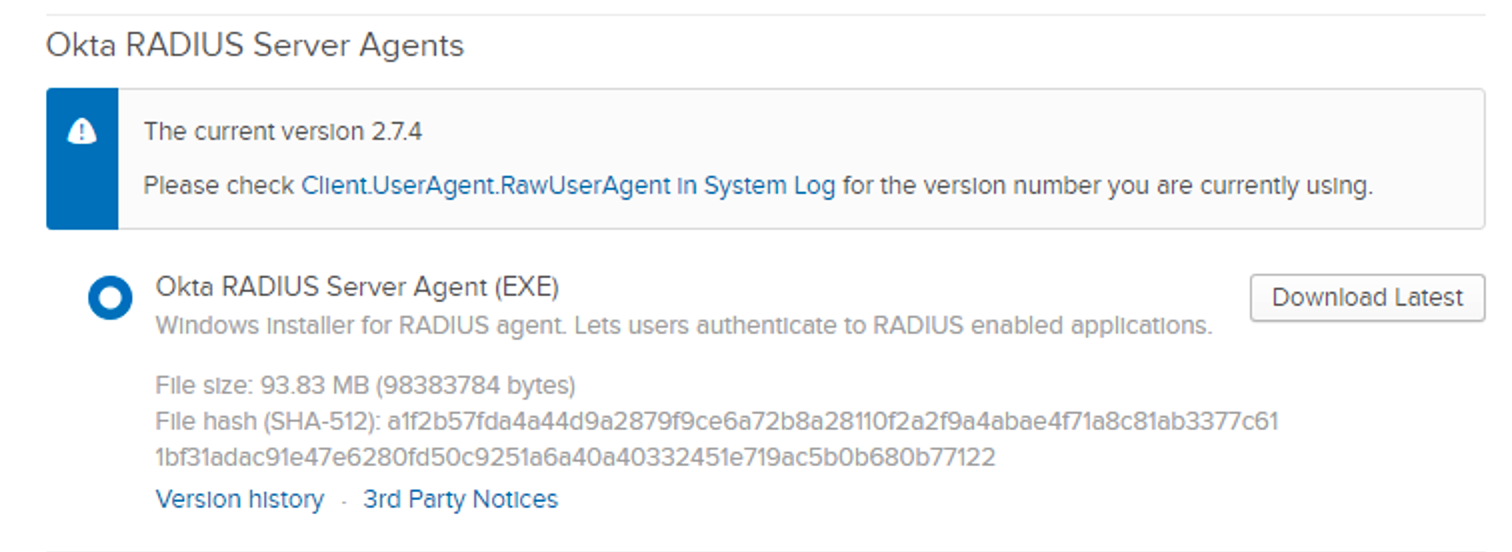
3. Once download, run the application on the host system ( AD )
a. Specify the Radius Shared Secret and port no.
b. Choose your organization, as in our case I am using okta.com
c. Enter the completer URL: https://hpe-sandeep.okta.com
d. Enter the subdomain: hpe-sandeep
e. Login to Okta admin login once prompted
f. Allow access for Okat APIs
g. Once installation is completed run the application and correct URL is mapped.

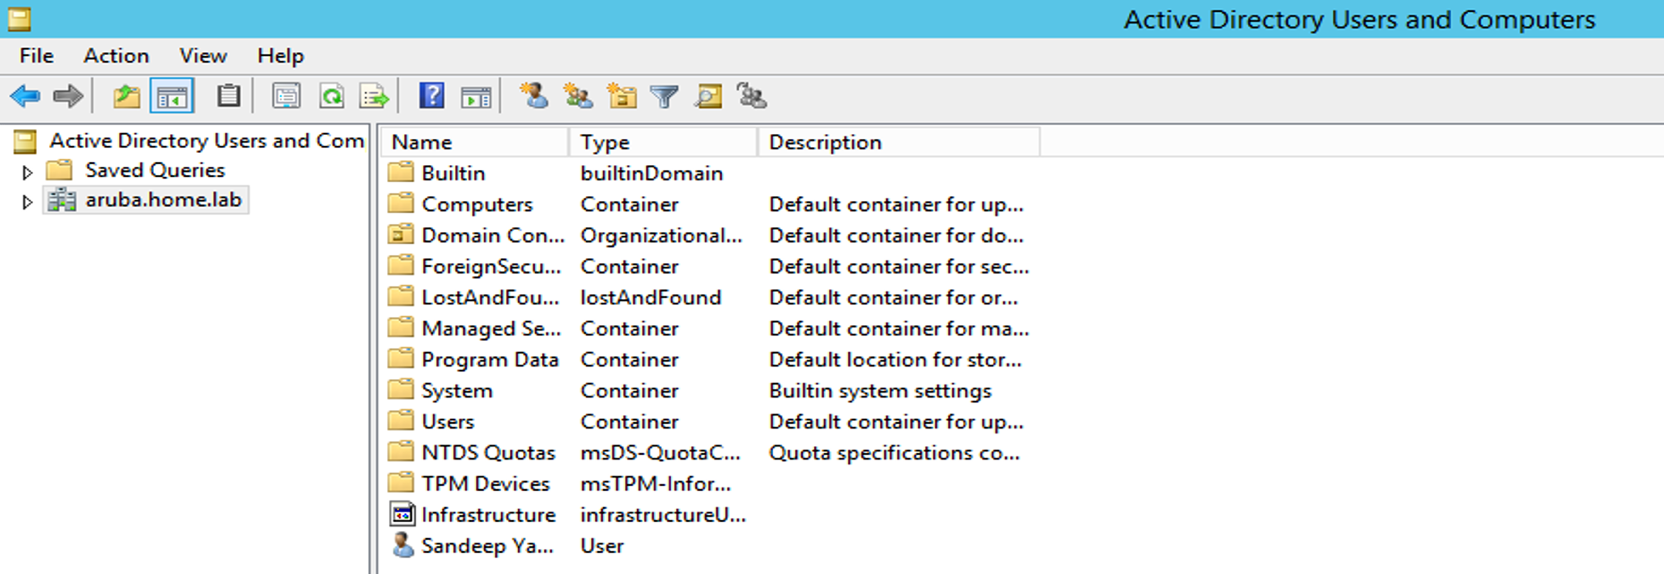
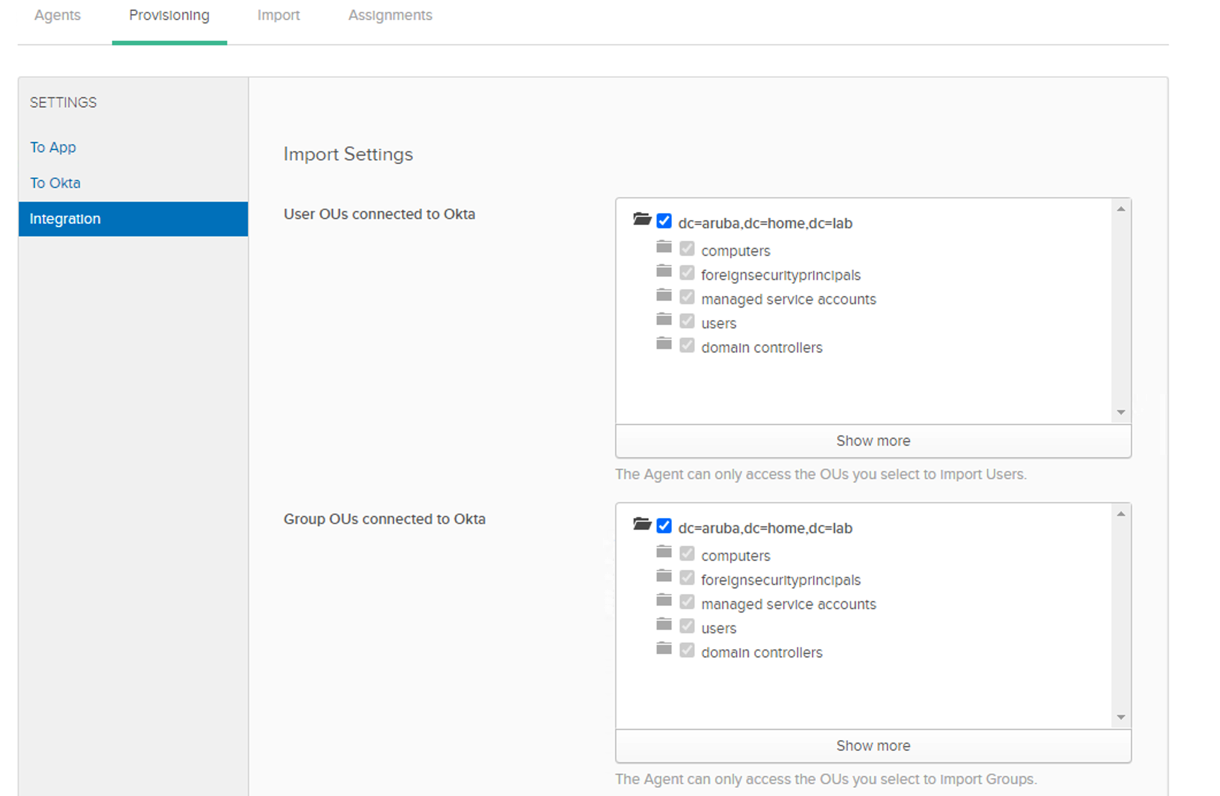
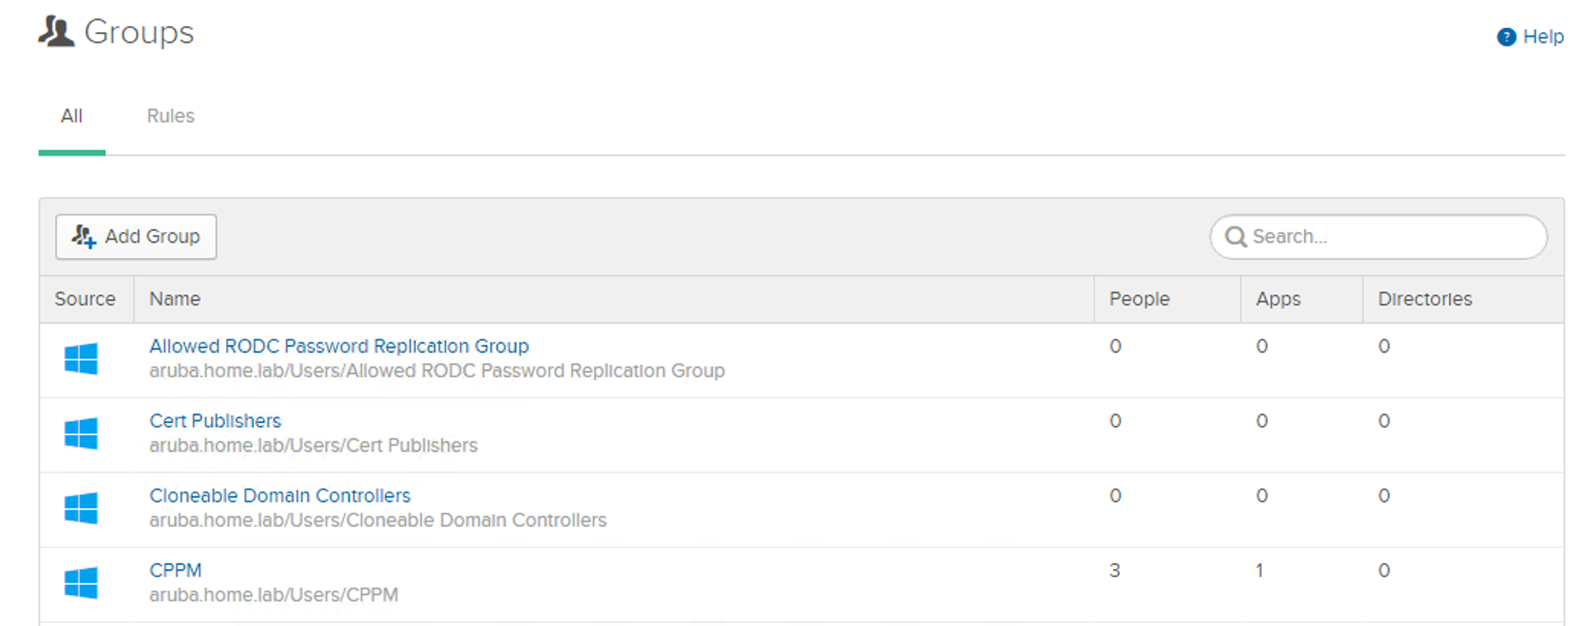
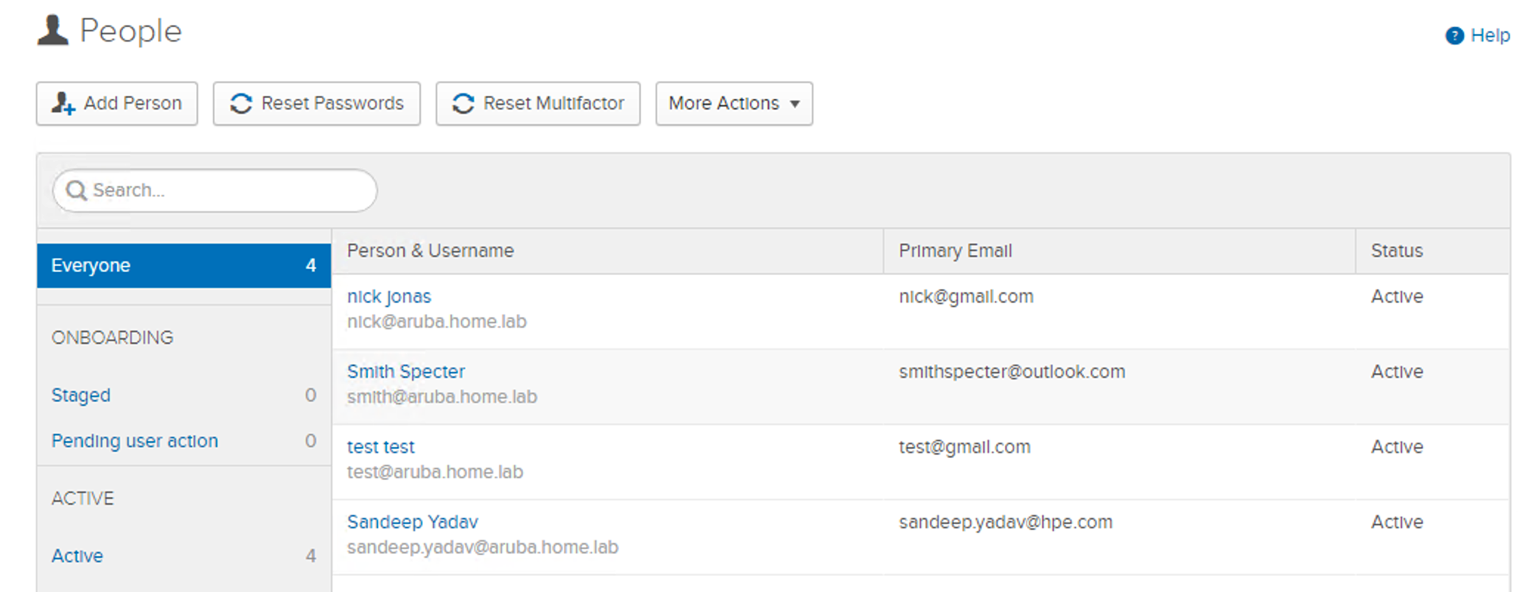
Provisioning AD on Okta for importing User and Groups
• Login to the Admin Console, go-to Dashboard and click on aruba.home.lab

• Select the User OUs and Group OUs you would like import
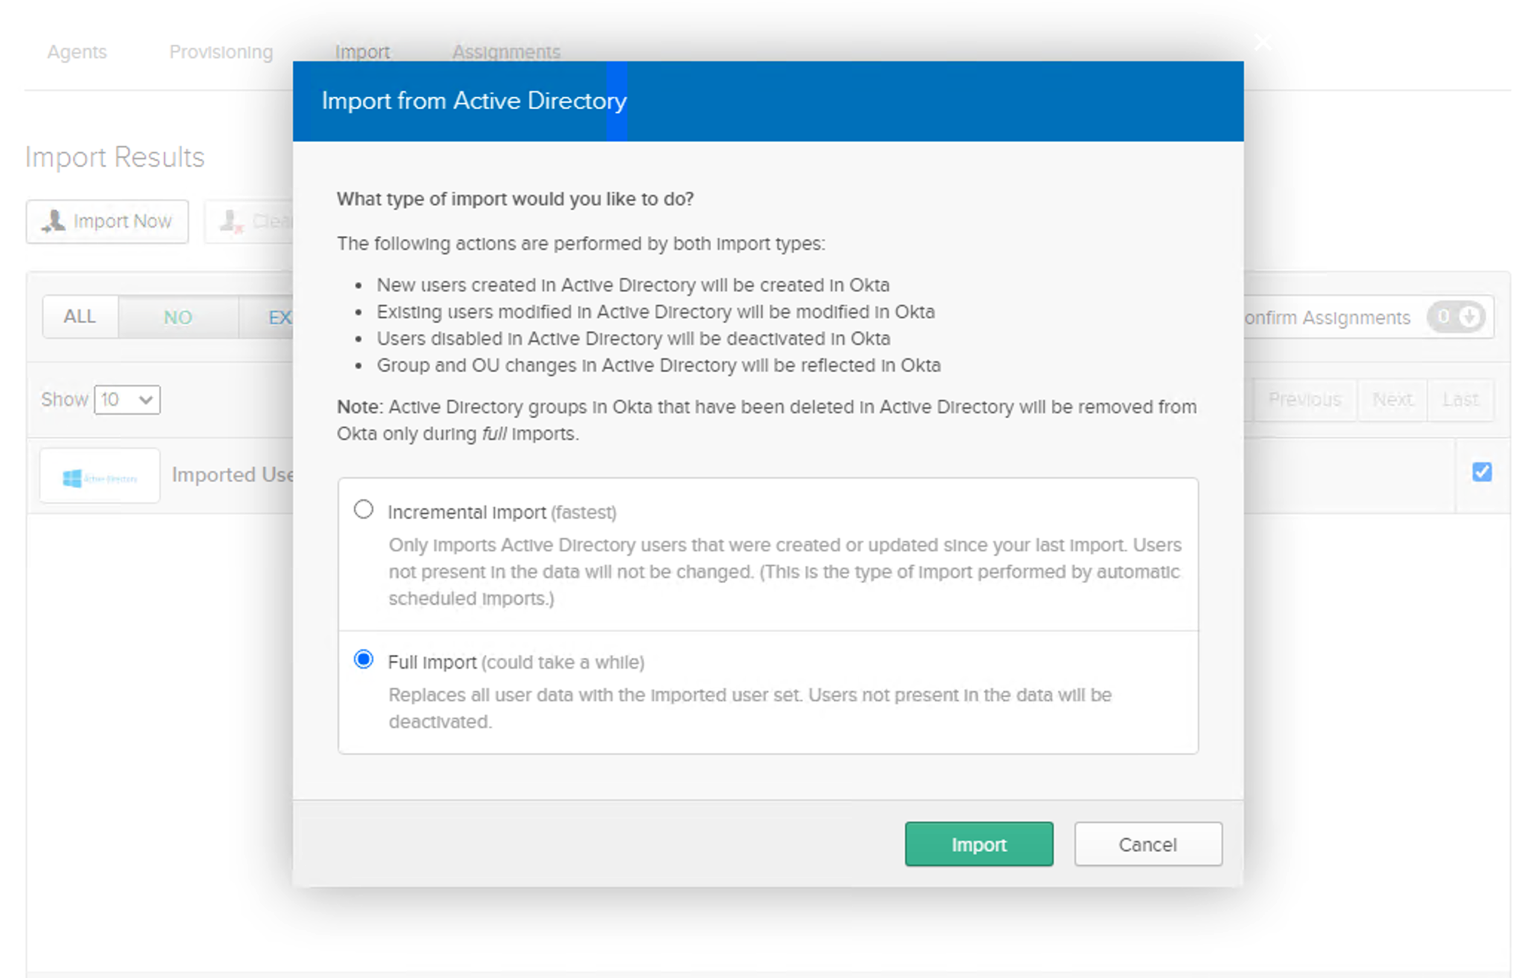
• Navigate to Import tab, and click on Import Now.
• Choose Full Import (If importing it for the first time, and could use Incremental
for subsequent import to import the recently added accounts or groups)
• Auto-import option is available to import at schedule time.
• Once imported you will see the changes with the no of users and groups imported
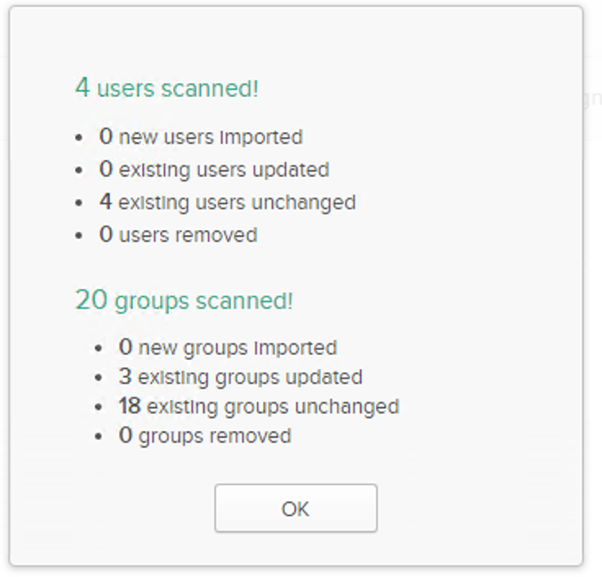
• Confirm the groups and users imported by navigating to Directory > People or Groups
Installing and Setting up Radius Client on Okta
1. Navigate to Application on Admin Console
2. Click on Add Application
3. Search for Radius Application
4. Specify the name (local to Okta console)
5. Enable the check for “Okta performs primary authentication”
6. Specify the UDP port and shared secret used on the Radius Agent on AD.
7. Leave the rest of the option default and navigate to Authentication section:
8. Move to Assignments tab > Assign > User or Groups ( specify for which group or user you would like use this application for).
9. Once assigned you will see the list of users and groups respectively

Updating MFA policies for Push notification and token based 2F
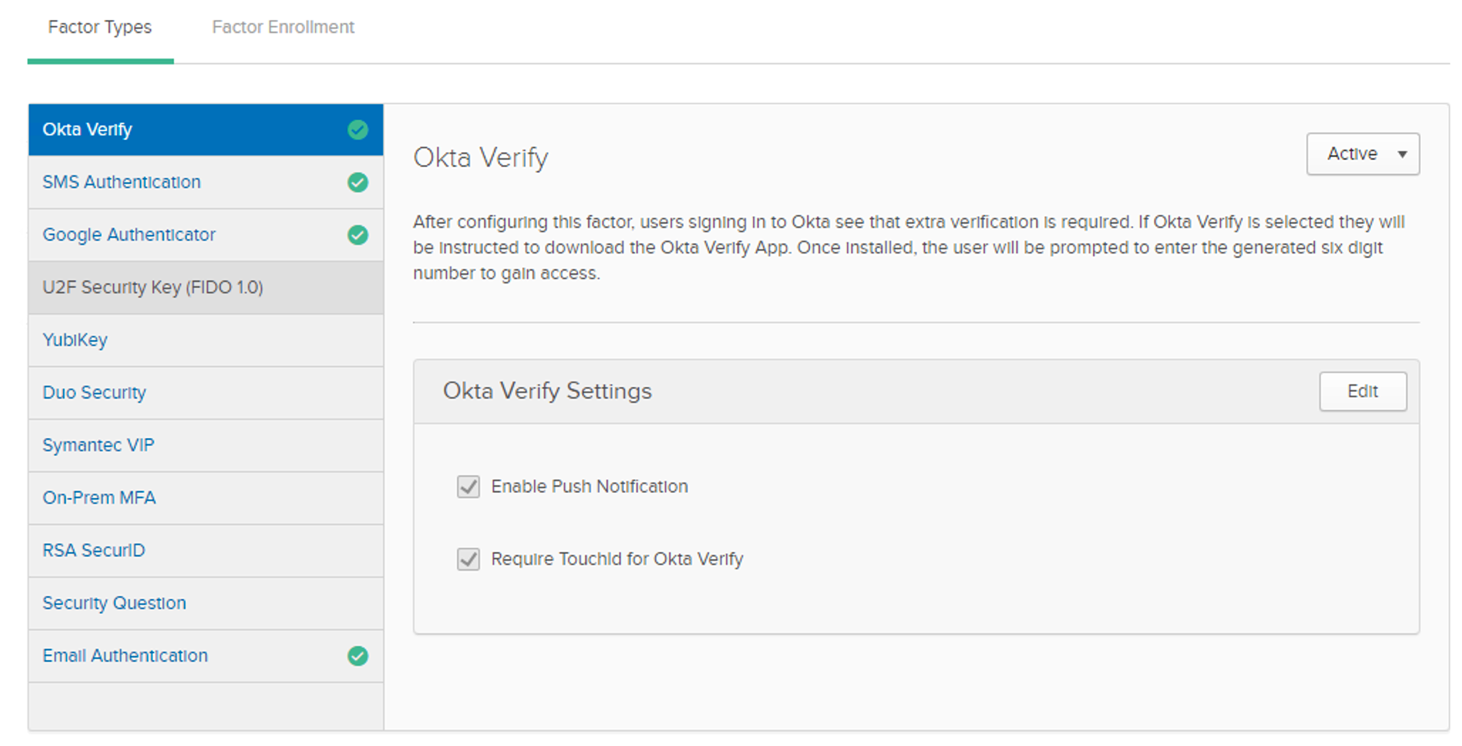
1. Navigate to Admin console > Security > Multifactor > Factor Types
2. Choose the MFA options you would like to use:
Adding the Factor enrollment Policy and rules
1. Click on Add Multifactor Policy
2. Select the groups you would like to assign for this policy
3. Select the eligible factors like Okta verify and/or SMS etc.
4. Save the changes, and it will take you to the Rules option, update the rule and save it.
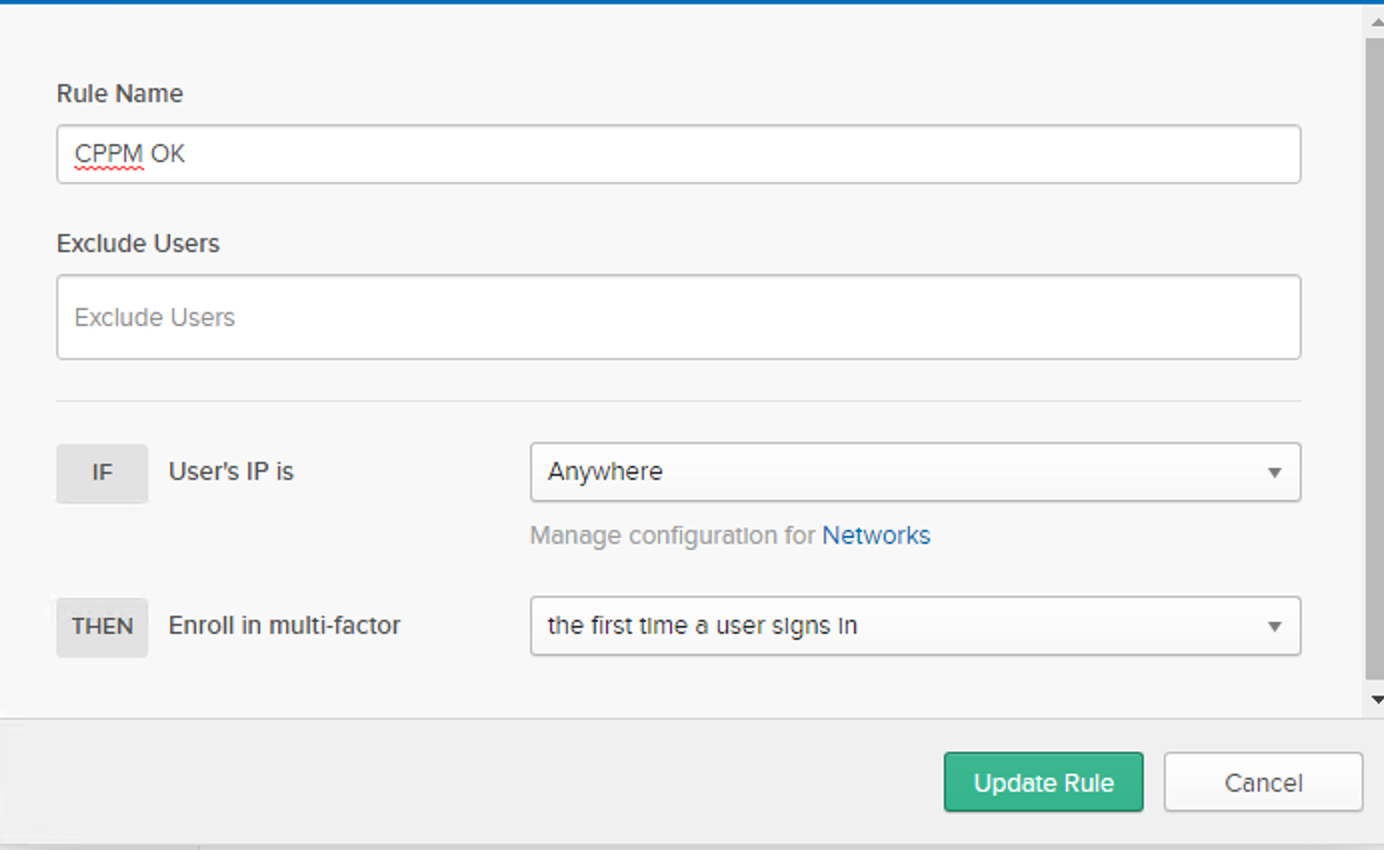
5. Once done, verify the configuration

Setting Aruba OS-CX for TACACS
• Configure the switch pointing towards CPPM for TACACS and enable TACACS for SSH
• Here I am using vrf mgmt. as I don’t have l3 vlan configured on switch ( config. would be different on network to network)

Verification
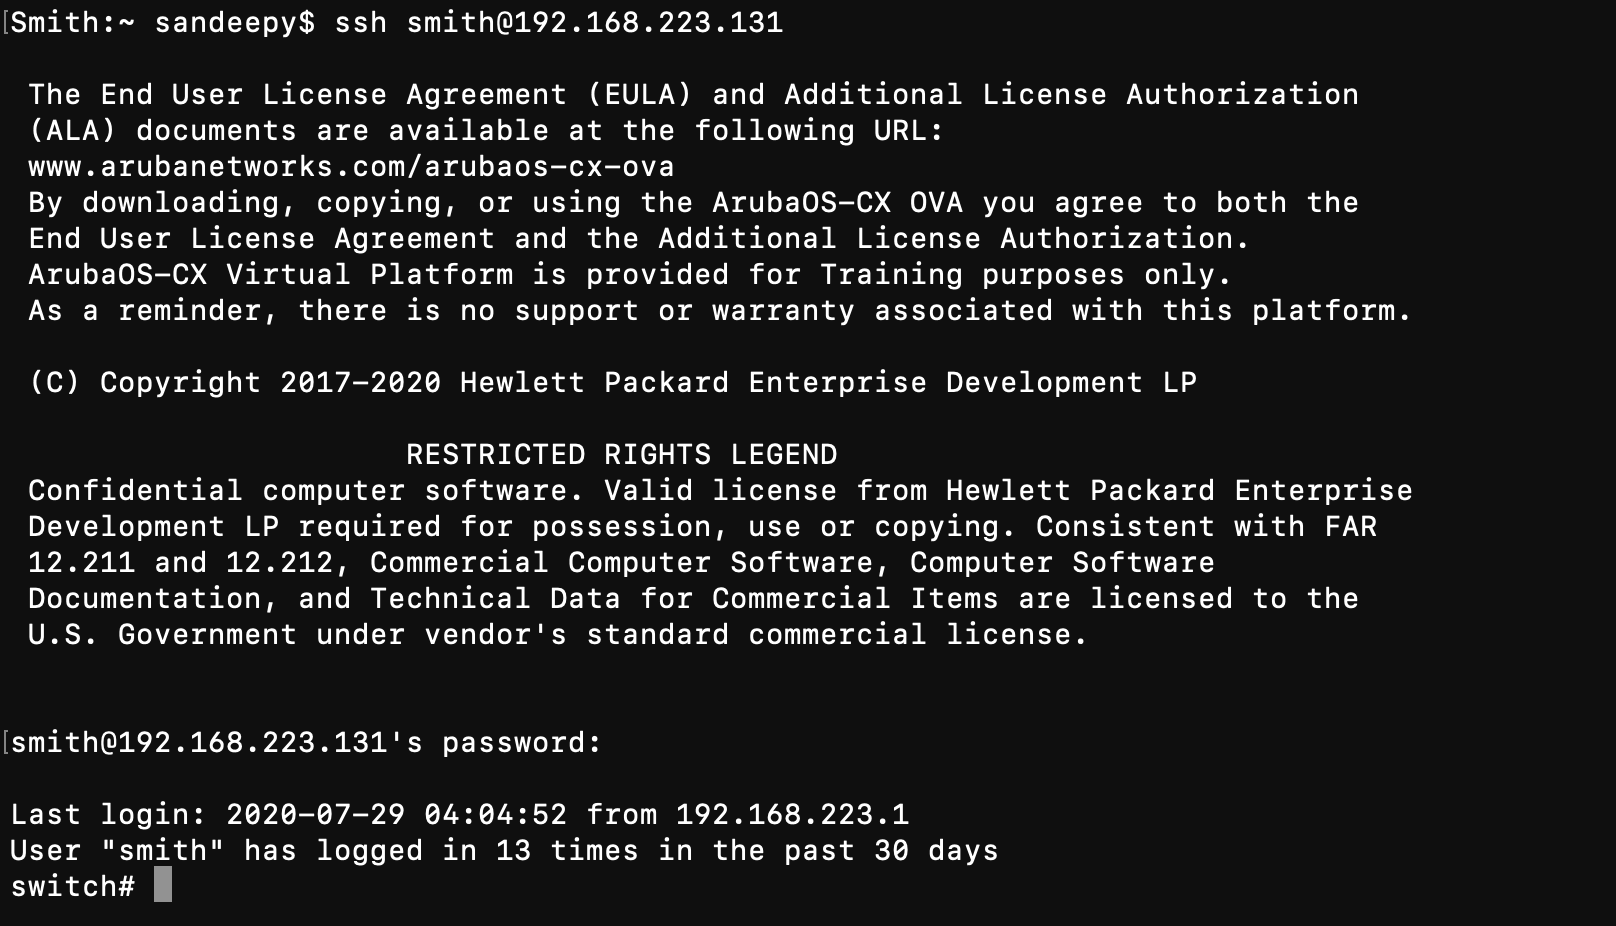
SSH to Switch using your AD account:
Username: smith (oktausername prefix you can set it to anything once accounts are imported – not referring to actual SamAccount or UPN )
Password: {Password},push
Always use ‘,’ after password and specify the 2F method like ,push or ,call or token ( you can get the token from the app )
Once, you enter the password accept the push notification on the phone application:

Appendix
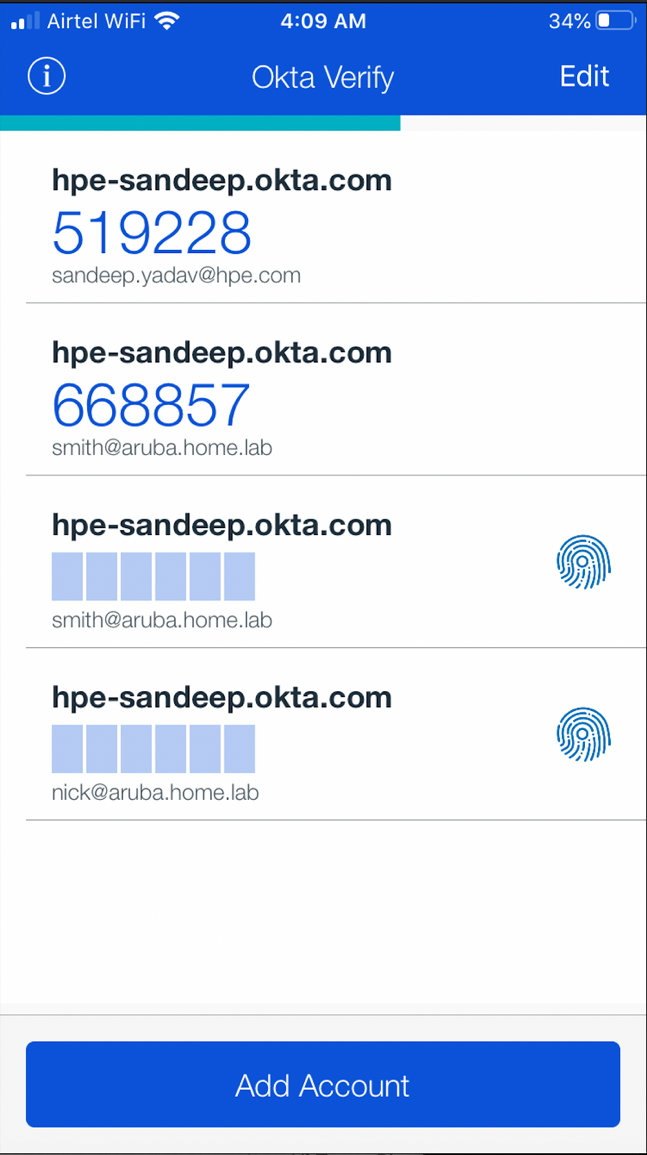
Enrolling your device for MFA
• Download the Okta Verify application from App store or Play store.
• Navigate to organization URL, in our case https://hpe-sandeep.okta.com
• Login with your AD credentials, based on the Factor Enrollment Policy it will load the QR code to be scanned on device via Application
• Once device is enrolled open the app and confirm you have both tokens based and Push notification-based accounts mapped